


How to Use Free Tools to Automate Daily Tasks
How to Use Free Tools to Automate Daily Tasks In a world where time is one of the most precious...
 Step-by-step instructions for resolving sound issues in Windows
  Instructions on How to Adjust Your Monitor to Ensure Accurate Colors
  How to Make the Most of Snap Layouts and Snap Groups in Windows for Maximum Productivity
  The Perfect Free Tools for Maintaining Your Computer
  The Most Effective Methods for Managing Startup Services with Windows
 How to Use Free Tools to Automate Daily Tasks In a world where time is one of the most precious...

A Comprehensive, Step-by-Step Guide to Resolving Audio Problems on Windows Among the most aggravating difficulties that Windows users have, audio...

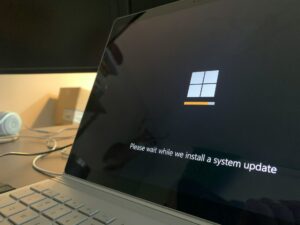
Instructions for Installing and Managing Updates Without Encountering Any Issues It is essential to maintain your system safe, reliable, and...

How to Use Windows 11's Remote Desktop Feature The Remote Desktop capability is one of the most powerful capabilities that...

How to Restore Files in Windows That Were Accidentally Deleted Nearly every individual who uses Windows has experienced a circumstance...
How to Restore Files in Windows That Were Accidentally Deleted Nearly every individual who uses Windows has experienced a circumstance...

Instructions for Establishing Parental Controls on Electronic Devices Kids are now spending an unprecedented amount of time on gadgets; this...