Mastering Motion Paths: A Comprehensive Guide on How to Add Motion Paths to Objects in HitFilm Express
Introduction: HitFilm Express is a versatile video editing and compositing software that empowers users to create stunning visual effects, motion graphics, and animations. One of the many powerful features offered by HitFilm Express is the ability to add motion paths to objects, allowing users to create dynamic movement and animation in their projects. In this comprehensive guide, we will explore the step-by-step process of adding motion paths to objects in HitFilm Express, from creating keyframes to adjusting motion curves and exporting the final result for professional-quality output.
Understanding Motion Paths: Motion paths are visual representations of the movement of objects in a video or animation. By adding motion paths to objects in HitFilm Express, users can create complex animations and dynamic effects by defining the trajectory and timing of the object’s movement over time. Motion paths are composed of keyframes, which specify the position, scale, rotation, and other properties of the object at different points in time, allowing users to animate objects with precision and control.
Step 1: Importing Footage and Objects Start by launching HitFilm Express and creating a new project. Import the footage and objects you want to animate into the project by clicking on the Import button in the media panel and selecting the desired files from your computer. Drag and drop the footage and objects onto the timeline in the editor panel to begin working with them.
Step 2: Adding Objects to the Composite Shot Once your footage and objects are imported, create a new composite shot in HitFilm Express by right-clicking in the media panel and selecting New > Composite Shot. Drag the footage and objects from the timeline into the composite shot to add them to the composition.
Step 3: Creating Keyframes With the objects added to the composite shot, you can now begin animating them by creating keyframes. Select the object you want to animate in the timeline, then navigate to the Controls panel and adjust the desired properties, such as position, scale, rotation, or opacity. Click on the stopwatch icon next to the property to create a keyframe at the current frame.
Step 4: Editing Keyframes After creating keyframes, you can edit and adjust their properties to define the motion path of the object. Move the playhead to the desired frame in the timeline, then adjust the properties of the object in the Controls panel to set the position, scale, rotation, or other properties for that keyframe. HitFilm Express will automatically interpolate the motion between keyframes to create smooth animation.
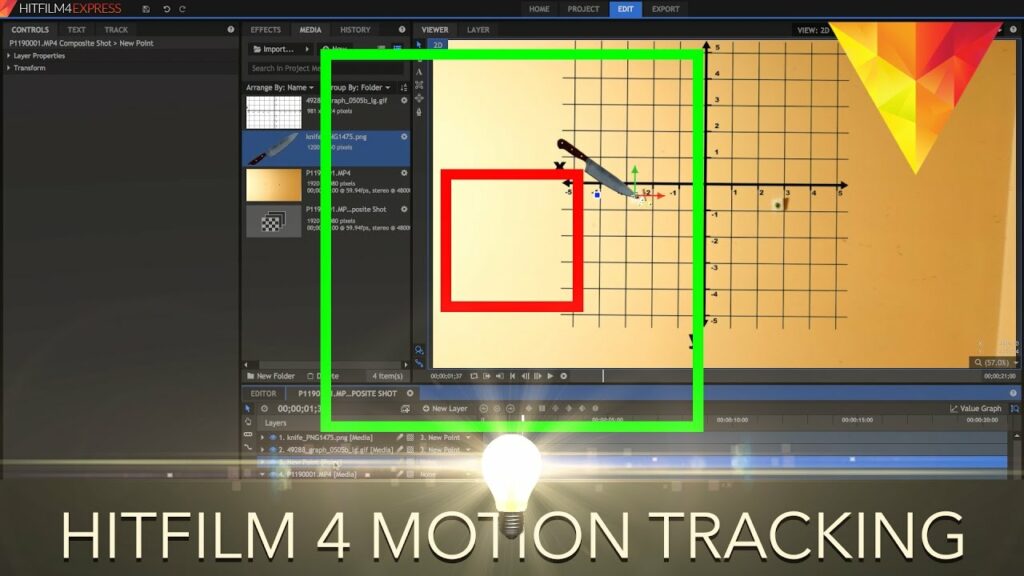
Step 5: Viewing Motion Paths To view the motion path of an object, select the object layer in the timeline, then click on the Transform tab in the Controls panel. In the Motion section, you will see a visual representation of the motion path, which displays the trajectory of the object’s movement over time. You can toggle the visibility of the motion path by clicking on the Show Path button.
Step 6: Adjusting Motion Curves HitFilm Express offers advanced controls for adjusting motion curves, allowing users to fine-tune the timing and easing of animations. To adjust motion curves, select the object layer in the timeline, then click on the Graph tab in the Controls panel. Here, you can view and edit the motion curves for different properties, such as position, scale, rotation, and opacity, using the Bezier handles and keyframe interpolation options.
Step 7: Adding Effects and Enhancements Once you’ve created motion paths for your objects, you can further enhance the animation by adding effects, transitions, and other visual enhancements in HitFilm Express. Explore the Effects panel to find a wide range of effects and presets that can add depth, texture, and visual interest to your animations.
Step 8: Previewing and Exporting After creating and refining the animation, preview the composite shot in the viewer panel to assess the timing and visual quality of the motion paths. Make any necessary adjustments or refinements to the animation, then export the final result by navigating to the Export panel and configuring the export settings, including resolution, format, and output destination. Click Export to render the composite shot with the animated motion paths applied and save it to your desired destination.
Tips and Best Practices:
- Plan your animation in advance and sketch out the desired motion paths before starting to animate in HitFilm Express.
- Use keyframes sparingly and strategically to create smooth and natural-looking animations.
- Experiment with different easing options and motion curves to achieve the desired timing and motion dynamics.
- Keep the viewer’s attention in mind when animating objects, and use motion paths to guide the viewer’s eye through the scene.
- Take advantage of HitFilm Express’s advanced controls and features, such as motion blur, depth of field, and particle effects, to enhance the visual impact of your animations.
Conclusion: Adding motion paths to objects in HitFilm Express is a powerful technique for creating dynamic animations and visual effects in your projects. By following the step-by-step process outlined in this guide and experimenting with different techniques and settings, you can master the art of motion graphics and animation in HitFilm Express. Whether you’re creating motion graphics, animated titles, or visual effects, motion paths offer endless creative possibilities for bringing your ideas to life and captivating your audience with dynamic and engaging animations.


