Mastering Efficiency: A Comprehensive Guide to Using Snippets in Adobe Dreamweaver
Introduction: Adobe Dreamweaver is a powerful tool for web design and development, offering a wide range of features to streamline workflows and enhance productivity. One such feature that significantly boosts efficiency is the use of snippets. Snippets are reusable blocks of code or content that can be quickly inserted into web pages, saving time and effort by eliminating the need to retype or copy-paste commonly used elements. In this comprehensive guide, we’ll explore the ins and outs of using snippets in Adobe Dreamweaver, from creating and managing snippets to integrating them seamlessly into your web projects.
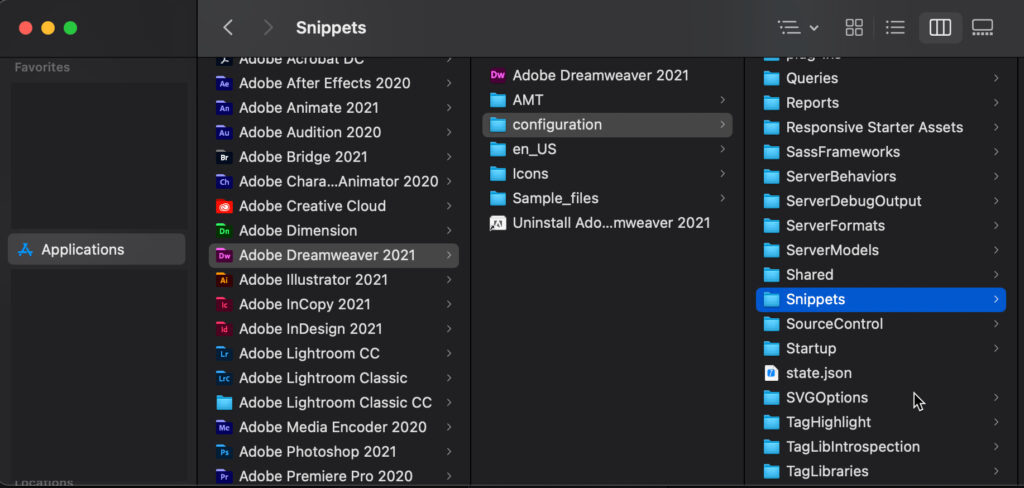
Understanding Snippets: Snippets are predefined pieces of code, text, or markup that can be easily inserted into web pages using Adobe Dreamweaver’s Snippets panel. They are designed to streamline repetitive tasks and promote consistency across web projects by providing a library of commonly used elements, such as HTML structures, CSS styles, JavaScript functions, and more. With snippets, web developers can save time and effort by reusing code snippets instead of manually writing or copying code from scratch.
Creating Snippets: In Adobe Dreamweaver, creating snippets is a straightforward process that involves selecting the desired code or content, defining a name and description for the snippet, and saving it to the Snippets panel for future use. Here’s how to create snippets in Dreamweaver:
- Select the Code: Highlight the code or content that you want to save as a snippet in the Code view or Design view of Dreamweaver.
- Define Snippet Properties: Right-click on the selected code and choose “Wrap Selection in Snippet” from the context menu. Alternatively, go to the “Insert” menu, select “Snippet,” and choose “Wrap Selection in Snippet.”
- Name and Describe the Snippet: In the Snippet dialog box, enter a name and description for the snippet to help identify its purpose and usage.
- Save the Snippet: Choose the folder where you want to save the snippet in the Snippets panel, then click “Save” to add the snippet to your library.
Managing Snippets: Once you’ve created snippets in Dreamweaver, you can easily manage and organize them using the Snippets panel. Here are some tips for managing snippets effectively:
- Organize Snippets into Folders: Create folders within the Snippets panel to categorize and group related snippets based on their function, purpose, or project.
- Rename and Edit Snippets: Right-click on a snippet in the Snippets panel to rename, edit, or update its properties, such as the name, description, and content.
- Delete Unused Snippets: Regularly review your snippets library and delete any unused or outdated snippets to keep your library organized and clutter-free.
- Import and Export Snippets: Share snippets between projects or with other developers by exporting them as XML files and importing them into Dreamweaver.
Using Snippets in Web Projects: Once you’ve created and organized snippets in Adobe Dreamweaver, integrating them into your web projects is a breeze. Here’s how to use snippets effectively:
- Insert Snippets: To insert a snippet into a web page, open the Snippets panel, select the desired snippet, and drag it into the Code view or Design view of your document. Alternatively, double-click on the snippet to insert it at the cursor position.
- Customize Snippets: Modify and customize snippets to suit your specific needs by editing the code or content directly in the document after inserting the snippet.
- Update Snippets: If you make changes to a snippet’s content or properties, such as renaming or editing the description, remember to update the snippet in the Snippets panel to reflect the changes across your projects.
Best Practices for Using Snippets: To maximize the benefits of using snippets in Adobe Dreamweaver, consider the following best practices:
- Standardize Snippet Naming Conventions: Adopt a consistent naming convention for your snippets to facilitate easy identification and retrieval.
- Document Snippet Usage: Provide clear and concise descriptions for each snippet to explain its purpose, usage, and any customization options.
- Regularly Review and Update Snippets: Periodically review your snippets library to ensure that it remains up-to-date and relevant to your current projects.
- Share Snippets with Team Members: Collaborate with team members by sharing snippets and maintaining a shared library of commonly used code snippets for increased efficiency and consistency.
Conclusion: Snippets are invaluable tools for web developers and designers seeking to streamline workflows, increase productivity, and maintain consistency across web projects. By harnessing the power of snippets in Adobe Dreamweaver, you can save time and effort by reusing commonly used code elements, promoting best practices, and accelerating the development process. Whether you’re a seasoned professional or a novice web developer, mastering the use of snippets in Dreamweaver empowers you to work more efficiently and effectively, ultimately leading to better-designed, more cohesive, and higher-quality web projects.


