Mastering HTML File Creation in Adobe Dreamweaver: A Comprehensive Guide for Web Developers
Adam.Smith May 13, 2024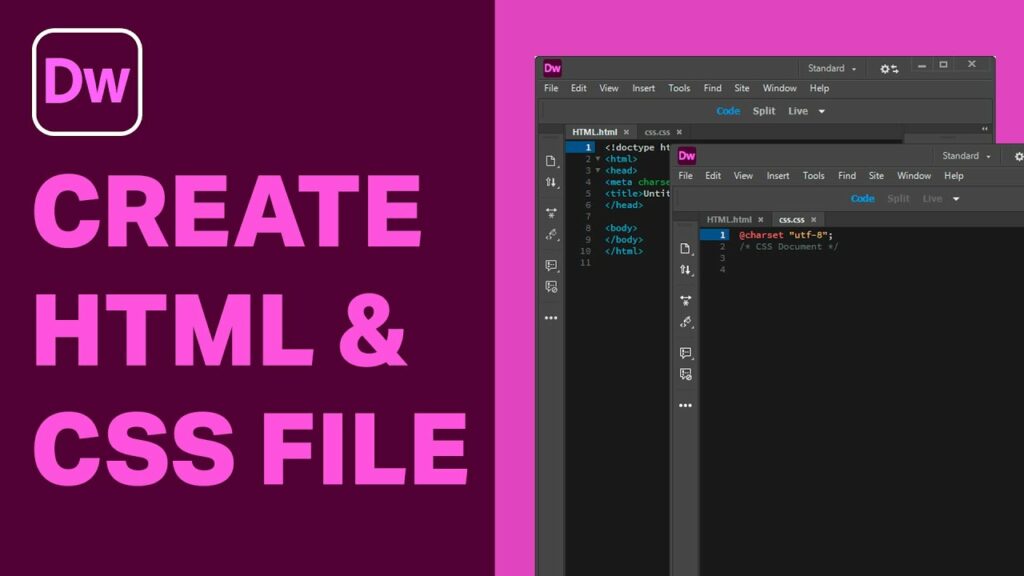
Introduction: Creating HTML files is the fundamental step in web development, laying the groundwork for building dynamic and interactive websites. Adobe Dreamweaver, with its robust features and intuitive interface, provides developers with powerful tools to streamline the HTML file creation process. In this comprehensive guide, we’ll delve into the step-by-step process of creating a new HTML file in Adobe Dreamweaver, covering everything from initial setup to advanced techniques and best practices.
Section 1: Understanding HTML Files 1.1 What is HTML?: Explore the basics of Hypertext Markup Language (HTML), the standard markup language for creating web pages, including its structure, elements, and syntax. 1.2 Role of HTML Files: Discuss the role of HTML files in web development, serving as the backbone of web pages by defining the structure, content, and layout of a website. 1.3 Importance of Adobe Dreamweaver: Highlight the significance of Adobe Dreamweaver as a powerful web development tool for creating, editing, and managing HTML files with ease and efficiency.
Section 2: Launching Adobe Dreamweaver 2.1 Opening Adobe Dreamweaver: Launch Adobe Dreamweaver on your computer to initiate the HTML file creation process. 2.2 Accessing the Welcome Screen: Upon launching Dreamweaver, explore the welcome screen, which provides access to recent files, tutorials, and project templates.
Section 3: Creating a New HTML File 3.1 Navigating to File Menu: Navigate to the “File” menu in the Dreamweaver menu bar to access file management options. 3.2 Selecting New HTML File: Click on the “New” option in the File menu and select “HTML” to create a new HTML file. 3.3 Naming the HTML File: Enter a descriptive name for your HTML file in the dialog box that appears, ensuring it reflects the purpose or content of the web page. 3.4 Specifying File Location: Choose the location where you want to save the HTML file on your computer, ensuring it’s easily accessible within your project folder structure. 3.5 Creating the HTML File: Click on the “Create” or “OK” button to generate the new HTML file in Adobe Dreamweaver, opening it in the default code view for editing.
Section 4: Editing HTML Code 4.1 Code View vs. Design View: Explore the different editing views available in Adobe Dreamweaver, including Code View for writing HTML code and Design View for visual editing. 4.2 Writing HTML Code: Use the Code View in Dreamweaver to write HTML code manually, including elements such as <html>, <head>, <title>, <body>, and content tags. 4.3 Adding Content: Insert text, images, links, and other content within the HTML file using HTML tags and attributes, ensuring proper syntax and structure. 4.4 Utilizing Code Hints: Take advantage of Dreamweaver’s code hints feature, which provides auto-completion suggestions and syntax highlighting to streamline HTML coding.
Section 5: Saving and Managing HTML Files 5.1 Saving HTML Files: Save your HTML file periodically by clicking on the “Save” button in the Dreamweaver toolbar or pressing Ctrl + S (Cmd + S on Mac) to ensure changes are preserved. 5.2 Managing File Structure: Organize your HTML files within a project folder structure in Dreamweaver, including subfolders for assets such as images, stylesheets, and scripts. 5.3 Renaming and Duplicating Files: Rename or duplicate HTML files as needed within Dreamweaver to maintain consistency and version control in your project. 5.4 Deleting Files: Remove obsolete or unnecessary HTML files from your project in Dreamweaver to declutter the workspace and streamline file management.
Section 6: Previewing HTML Pages 6.1 Preview in Browser: Preview your HTML page in a web browser directly from Adobe Dreamweaver to visualize how it will appear to users. 6.2 Testing Responsiveness: Test the responsiveness of your HTML page by resizing the browser window or using built-in device emulation tools in Dreamweaver. 6.3 Troubleshooting Display Issues: Address any display issues or formatting errors in your HTML page by inspecting the code, adjusting CSS styles, or testing in different browsers.
Section 7: Advanced HTML Techniques 7.1 Incorporating CSS Stylesheets: Link external CSS stylesheets to your HTML file in Dreamweaver to apply custom styling and layout to web pages. 7.2 Integrating JavaScript: Embed JavaScript code within your HTML file to add interactivity, dynamic behavior, and functionality to web pages. 7.3 Implementing Meta Tags: Include meta tags within your HTML file to provide metadata such as page title, description, keywords, and viewport settings for search engines and browsers. 7.4 Optimizing for SEO: Optimize your HTML code for search engine optimization (SEO) by incorporating relevant keywords, descriptive tags, and semantic markup to improve visibility and rankings in search results.
Section 8: Best Practices and Tips 8.1 Maintain Semantic Markup: Follow best practices for semantic HTML markup, using appropriate tags and attributes to convey the structure and meaning of content. 8.2 Validate HTML Code: Validate your HTML code using online validation tools or Dreamweaver’s built-in validation features to ensure compliance with W3C standards and cross-browser compatibility. 8.3 Use External Libraries: Leverage external libraries and frameworks such as Bootstrap, jQuery, or Font Awesome to streamline development and enhance functionality in your HTML files. 8.4 Document Code Structure: Document the structure and organization of your HTML files using comments and annotations within the code to improve readability and maintainability.
Section 9: Troubleshooting and FAQs 9.1 Common HTML Coding Issues: Address common issues encountered during HTML coding in Dreamweaver, such as syntax errors, missing tags, and formatting inconsistencies. 9.2 Frequently Asked Questions: Provide answers to frequently asked questions about creating HTML files in Dreamweaver, covering topics such as file organization, code validation, and browser compatibility.
Conclusion: By following this comprehensive guide, you’ve mastered the process of creating new HTML files in Adobe Dreamweaver, laying the foundation for building dynamic and engaging websites. With its powerful features and intuitive interface, Dreamweaver empowers developers to write clean, semantic HTML code efficiently and effectively. Now that you’re equipped with the knowledge and skills, unleash your creativity, explore the possibilities, and embark on your journey to web development success with Adobe Dreamweaver. Happy coding!


