Mastering the Flames: A Comprehensive Guide to Creating a Fire Text Effect in Photoshop
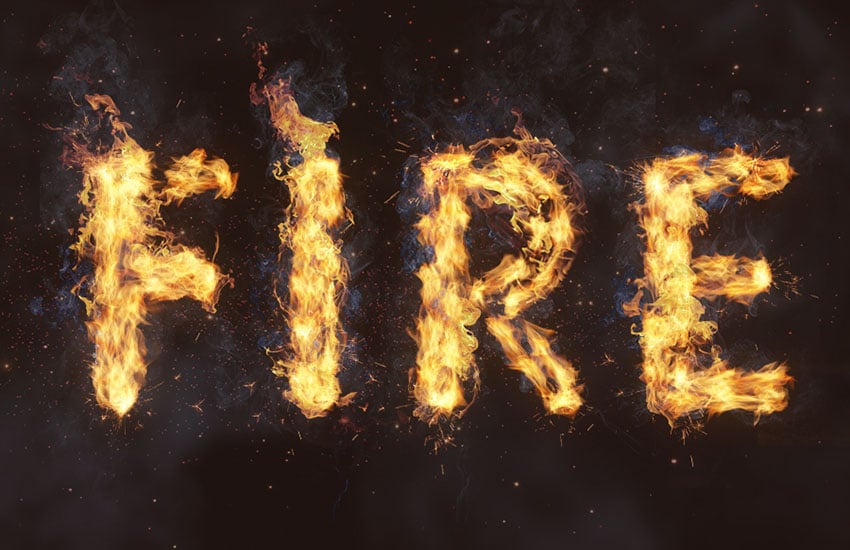
Adobe Photoshop, a versatile and powerful tool for graphic design, allows artists and designers to unleash their creativity and bring various elements to life. Among the myriad of design possibilities, creating a fire text effect stands out as a captivating and dynamic technique. In this extensive guide, we will delve into the step-by-step process of crafting a stunning fire text effect in Photoshop, exploring the tools, techniques, and nuances that contribute to the fiery spectacle.
Section 1: Setting the Stage
1.1 Choosing the Right Font
Before diving into the fire text effect, selecting the appropriate font sets the tone for your design. Opt for bold and impactful fonts that complement the fiery theme. Sans-serif fonts often work well for a modern and clean look, while script fonts can add a touch of elegance to the flames.
1.2 Crafting a Solid Background
Create a new document in Photoshop and set the background to a dark, neutral color. This provides a stark contrast to the fiery text and enhances the overall visual impact. A deep black or dark gray background often works effectively.
Section 2: Igniting the Text
2.1 Text Layer Creation
Using the Text tool (T), type the desired text on the canvas. Experiment with the font size, spacing, and alignment until you achieve a composition that suits your design preferences. Ensure that the text is large enough to showcase the fire effect prominently.
2.2 Applying Layer Styles
Right-click on the text layer in the Layers panel and select “Blending Options.” Here, you can apply various layer styles to enhance the appearance of the text. Experiment with options such as Inner and Outer Glow, Stroke, and Bevel & Emboss to add depth and dimension to the text.
Section 3: The Fire Unleashed
3.1 Creating the Base Flame
To create the fiery texture, use the Brush tool (B) with a soft, round brush set to a warm color like orange or yellow. Paint over the text, focusing on the areas where flames would naturally emerge. Vary the brush size to add diversity to the flames.
3.2 Adding Depth with Shadows
Create a new layer beneath the text layer and, using a darker shade of orange or red, paint shadows and darker areas beneath the flames. This adds depth and realism to the fire text. Adjust the layer opacity to control the intensity of the shadows.
Section 4: Intensifying the Blaze
4.1 Smudging and Blurring
To give the flames a dynamic and organic appearance, use the Smudge tool (R) to gently smudge the edges of the flames. Additionally, apply the Gaussian Blur filter to certain areas of the flames to simulate the heat distortion effect. This step adds a touch of realism to the fire text.
4.2 Color Variation
Create multiple layers for different sections of the text and experiment with varying shades of orange, red, and yellow. This color variation mimics the nuances of a real fire, making the text more visually engaging. Adjust the layer blending modes to achieve the desired color interactions.
Section 5: Enhancing the Fiery Glow
5.1 Outer Glow Effect
Go back to the Blending Options for the text layer and apply an Outer Glow effect. Choose a vibrant color that complements the flames, such as yellow or orange. Adjust the opacity and size of the Outer Glow to create a radiant halo around the text.
5.2 Sparks and Embers
To add extra flair to the fire text, create small dots or streaks of light using a white brush. These represent sparks and embers floating in the air. Adjust the opacity of these elements to integrate them seamlessly into the fiery composition.
Section 6: Finishing Touches
6.1 Smoke Trails
For a more dynamic and atmospheric effect, incorporate wisps of smoke around the flames. Use a soft, gray brush to paint delicate smoke trails. Adjust the opacity and blending modes to ensure the smoke integrates harmoniously with the fire text.
6.2 Final Adjustments
Fine-tune the overall composition by making any necessary adjustments to color balance, contrast, and saturation. Experiment with additional filters or adjustments layers to achieve the desired visual impact. Consider adding a subtle vignette to draw attention to the fiery center.
Section 7: Saving and Sharing the Blaze
7.1 File Format and Resolution
When satisfied with your fiery masterpiece, save the file in a format that preserves the layers, such as PSD. If you intend to share the image online, consider exporting it as a high-resolution JPEG or PNG. Maintaining a high resolution ensures the details of the fire text remain crisp and vibrant.
7.2 Showcasing Your Creation
Share your creation on social media, design portfolios, or incorporate it into various projects. The fiery text effect can be a striking addition to posters, banners, digital art, or any design where a bold and energetic aesthetic is desired.
Section 8: Exploring Further Possibilities
8.1 Experimenting with Textures
Take your fire text effect to the next level by experimenting with textures. Apply texture overlays to the flames or incorporate grunge textures for a more rugged appearance. Texture layers can add complexity and visual interest to the fiery elements.
8.2 Animating the Flames
For a dynamic and eye-catching result, consider animating the flames. In Photoshop, you can create a GIF or short video with animated flames. Explore the timeline feature to add movement to the fire text, making it dance and flicker like a real flame.
Conclusion: Master of the Flames
Creating a fire text effect in Photoshop is a captivating journey through the realms of design, color, and imagination. With the right tools and techniques, you can transform ordinary text into a blazing masterpiece. Whether you’re aiming for a bold graphic or a subtle inferno, mastering the art of fire text opens up a realm of creative possibilities in the dynamic landscape of digital design. So, ignite your creativity and let the flames of your imagination illuminate the canvas!


