Mastering Remote Assistance: A Comprehensive Guide to Using Remote Assistance in Windows XP
In today’s interconnected world, providing remote support and troubleshooting assistance is essential for efficient collaboration, problem-solving, and technical assistance. Windows XP offers users a powerful tool called Remote Assistance, designed to facilitate remote desktop sharing and support sessions between users over a network or the internet. Whether you’re a tech-savvy professional assisting friends and family or an IT support specialist helping clients remotely, Remote Assistance empowers users to connect, collaborate, and resolve issues effectively. In this comprehensive guide, we’ll delve deep into the intricacies of using Remote Assistance in Windows XP, empowering users to harness the full potential of this powerful tool and enhance their remote support capabilities.
Understanding Remote Assistance in Windows XP:
Before we explore the methods for using Remote Assistance, let’s understand the purpose and capabilities of this feature within the Windows XP operating system. Remote Assistance is a built-in tool that allows users to invite others to connect to their computer remotely, view their desktop, and interact with their system in real-time. Whether troubleshooting software issues, configuring settings, or providing technical guidance, Remote Assistance enables seamless collaboration and support between users, regardless of their physical location. With features such as desktop sharing, file transfer, and chat communication, Remote Assistance empowers users to resolve issues efficiently and enhance productivity.
Step-by-Step Guide to Using Remote Assistance:
Now, let’s explore a systematic approach to using Remote Assistance in Windows XP:
Step 1: Initiating a Remote Assistance Session:
- Click on the “Start” button located at the bottom-left corner of the screen.
- Navigate to “Help and Support” and click to open it.
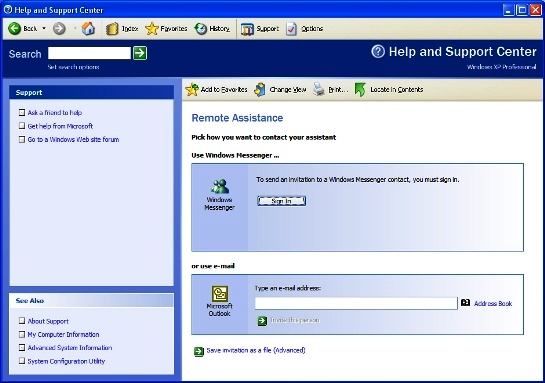
- In the Help and Support Center window, locate and click on the “Invite a friend to connect to your computer with Remote Assistance” link under “Ask for assistance.”
Step 2: Sending an Invitation:
- In the Remote Assistance window, select the option to “Invite someone to help you.”
- Choose whether to save the invitation as a file or send it via email or instant messaging.
- Optionally, you can specify a duration for the invitation and set a password for added security.
- Click “Continue” to generate the invitation file or email message.
Step 3: Receiving Assistance:
- When the recipient receives the invitation, they can open it and accept the request for assistance.
- The recipient will be prompted to enter the password provided in the invitation, if applicable.
- Once the connection is established, the recipient can view the requester’s desktop, interact with their system, and provide assistance as needed.
Step 4: Collaborating during the Session:
- During the Remote Assistance session, both parties can communicate via text chat or voice chat for real-time collaboration.
- The requester can grant control of their desktop to the recipient, allowing them to navigate and interact with the system directly.
- The recipient can troubleshoot issues, configure settings, and perform tasks on the requester’s behalf to resolve the issue efficiently.
Step 5: Ending the Session:
- When the Remote Assistance session is complete, either party can choose to end the session.
- Click on the “Close” button in the Remote Assistance window to terminate the connection and close the session.
- Optionally, you can provide feedback or comments regarding the assistance received or provided.
Advanced Features and Tips:
For advanced users or those seeking additional functionality, consider the following tips:
- File Transfer: Remote Assistance allows users to transfer files between the requester and recipient during the session. Simply drag and drop files between desktops or use the file transfer feature within the Remote Assistance window.
- Firewall Configuration: Ensure that your firewall settings allow Remote Assistance connections to pass through. You may need to configure firewall exceptions or open specific ports to enable Remote Assistance functionality.
- Group Policy Settings: Administrators can configure Group Policy settings to control Remote Assistance behavior, including session time limits, authentication requirements, and security options.
Conclusion:
In conclusion, Remote Assistance in Windows XP is a powerful tool that enables seamless collaboration and support between users, regardless of their physical location. By following the step-by-step guide outlined in this article and considering advanced features and tips, users can harness the full potential of Remote Assistance to troubleshoot issues, provide technical support, and enhance productivity effectively. Whether assisting friends and family with computer problems or providing remote support to clients and colleagues, mastering the use of Remote Assistance empowers users to connect, collaborate, and resolve issues with confidence and efficiency. So take advantage of Remote Assistance today, connect with others remotely, and unlock a world of collaborative possibilities on your Windows XP system.


