Mastering Precision: A Comprehensive Guide to Adding a Brightness/Contrast Adjustment Layer in Photoshop
Introduction:
Adobe Photoshop stands as the quintessential software for image editing, offering an extensive array of tools to enhance and transform photographs. Among these tools, the Brightness/Contrast adjustment layer stands out as a powerful and versatile option. In this comprehensive guide, we will delve into the nuances of adding a Brightness/Contrast adjustment layer in Photoshop, exploring its functionalities, creative applications, and best practices to elevate your image editing skills to new heights.
Understanding the Brightness/Contrast Adjustment Layer:
The Brightness/Contrast adjustment layer in Photoshop allows for non-destructive modifications to the overall brightness and contrast of an image. By adding this adjustment layer, you gain the flexibility to fine-tune these essential parameters while preserving the original image data. This layer-based approach ensures a non-destructive workflow, enabling you to revisit and modify adjustments at any stage of your editing process.
Key Components of Brightness/Contrast Adjustment Layer:
- Brightness Slider:
- The Brightness slider allows you to control the overall lightness or darkness of the entire image. Moving the slider to the right increases brightness, while moving it to the left decreases brightness.
- Contrast Slider:
- The Contrast slider influences the difference between the darkest and lightest parts of an image. Adjusting the contrast enhances or softens these differences, contributing to the overall visual impact.
Step-by-Step Guide to Adding a Brightness/Contrast Adjustment Layer:
- Open Your Image:
- Launch Photoshop and open the image you wish to enhance. Navigate to “File” > “Open” and select your image file.
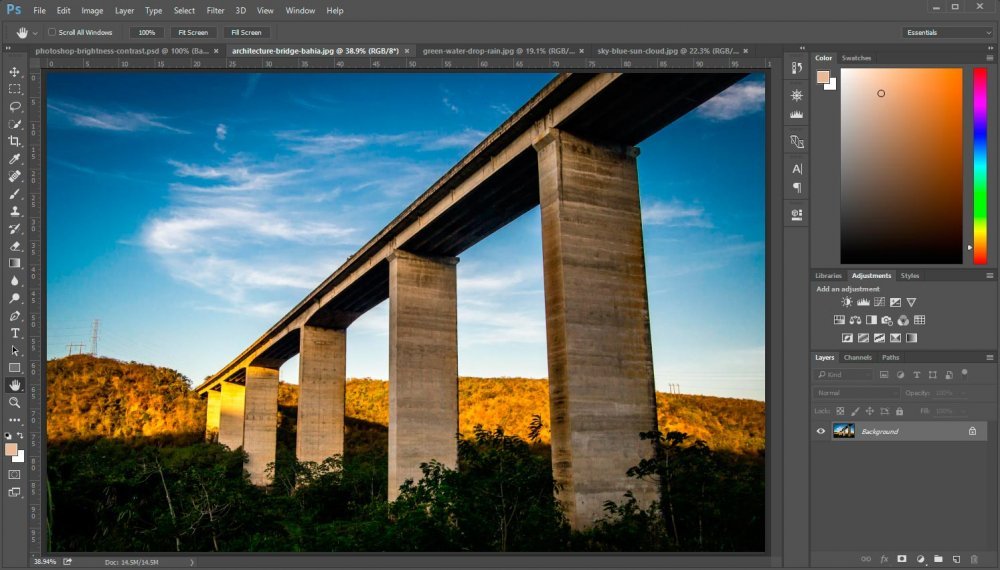
- Access Adjustment Layers:
- In the Layers panel, locate the half-filled circle icon at the bottom, known as the “Adjustment Layer” icon. Click on it to reveal a menu of adjustment layer options.
- Select Brightness/Contrast:
- From the menu, choose “Brightness/Contrast.” This action adds a new adjustment layer above your image layer.
- Adjust Brightness:
- In the Properties panel that appears, find the Brightness slider. Move it to the right to increase brightness or to the left to decrease it. Observe the real-time changes in your image as you make adjustments.
- Modify Contrast:
- Below the Brightness slider, you’ll find the Contrast slider. Adjust it by moving to the right to increase contrast or to the left to decrease it. Preview the impact on your image and fine-tune until you achieve the desired result.
- Layer Mask (Optional):
- If you want to apply the Brightness/Contrast adjustment selectively to specific areas, add a layer mask to the adjustment layer. Use a black brush on the mask to conceal parts of the adjustment, revealing the original image.
- Preview Changes:
- Toggle the visibility of the adjustment layer on and off by clicking the eye icon next to the layer in the Layers panel. This allows you to compare the adjusted image with the original, facilitating a more nuanced editing process.
- Save and Export:
- Once satisfied with the adjustments, save your Photoshop project and export the final image in your preferred format.
Tips and Techniques for Optimal Results:
- Fine-Tune with Other Adjustment Layers:
- Combine the Brightness/Contrast adjustment layer with other adjustment layers like Levels or Curves for more precise control over tonal ranges. This enhances your ability to fine-tune the image according to your artistic vision.
- Animate Adjustments (For Videos):
- If you are working with a video file, consider animating the Brightness/Contrast adjustment layer by adding keyframes. This allows for dynamic adjustments over the duration of the video.
- Explore Layer Blending Modes:
- Experiment with different layer blending modes for the Brightness/Contrast adjustment layer. Blending modes can influence how the adjustment interacts with the layers beneath, providing unique and creative effects.
- Utilize Clipping Masks:
- If you have multiple layers, use clipping masks to limit the impact of the Brightness/Contrast adjustment layer to specific layers. Right-click on the adjustment layer and choose “Create Clipping Mask.”
- Apply Gradual Adjustments:
- Instead of making extreme adjustments, apply gradual changes to avoid loss of detail and maintain a natural appearance. Subtle adjustments often yield more visually appealing results.
Creative Applications:
- Selective Enhancements:
- Use the Brightness/Contrast adjustment layer to selectively enhance specific areas of your image, such as brightening a subject’s face or intensifying the contrast in a landscape.
- Dramatic Effects:
- Apply extreme adjustments to create dramatic effects, such as achieving a high-key or low-key look. This is particularly useful for creative and artistic projects.
- Vintage or Retro Styles:
- Adjusting brightness and contrast can contribute to achieving vintage or retro styles, providing a nostalgic or timeless feel to your images.
- Color Grading Support:
- The Brightness/Contrast adjustment layer complements color grading processes, allowing you to fine-tune luminosity and contrast while working on color adjustments.
Common Pitfalls and Solutions:
- Overexaggeration of Adjustments:
- Avoid overexaggerating brightness and contrast adjustments, as this can lead to unnatural-looking results. Regularly zoom in and inspect your image to maintain optimal quality.
- Ignoring Image Histogram:
- Monitor the image histogram while making adjustments. A well-distributed histogram ensures a balanced tonal range and prevents loss of detail in highlights or shadows.
- Forgetting to Save Adjusted Image:
- After making adjustments, remember to save your edited image separately to preserve the original file. This prevents unintentional loss of the unadjusted version.
Conclusion:
Adding a Brightness/Contrast adjustment layer in Photoshop is a fundamental skill that opens up a realm of creative possibilities in image editing. Whether you’re a photographer, graphic designer, or digital artist, mastering this technique empowers you to control the luminosity and contrast of your images with precision and finesse. By following this comprehensive guide, you’re equipped with the knowledge and techniques needed to seamlessly integrate Brightness/Contrast adjustments into your workflow. Remember to experiment, embrace creativity, and let your artistic intuition guide you as you illuminate your images with precision and impact.


