Mastering Generative Fill in Photoshop: Crafting Realistic Water Reflections for Stunning Visual Effects
Introduction:
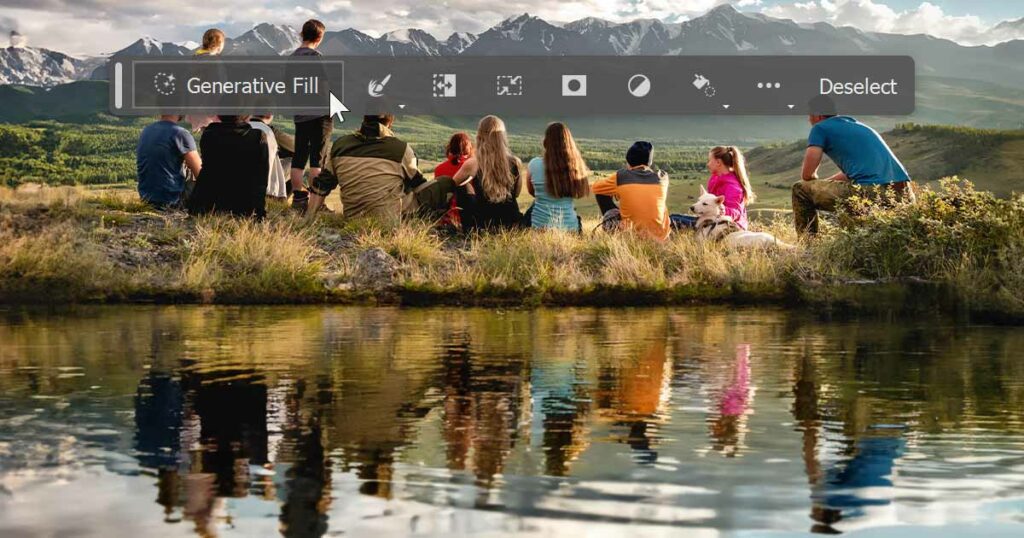
Generative fill techniques in Photoshop have revolutionized the way digital artists approach image manipulation, offering a realm of creative possibilities. Among these techniques, creating realistic water reflections stands out as a captivating way to enhance visual appeal and add an element of depth to your compositions. In this comprehensive guide, we will explore the intricacies of generative fill in Photoshop, focusing on the creation of lifelike water reflections. Whether you’re a seasoned designer or an enthusiastic beginner, this step-by-step guide will empower you to master the art of adding convincing water reflections to your images.
I. Understanding Generative Fill:
A. Definition and Purpose:
- Generative fill involves utilizing algorithms and pattern-generating techniques to simulate natural textures and effects.
- The purpose of generative fill is to add realism and complexity to digital imagery, creating convincing details that mimic real-world phenomena.
B. Types of Generative Fill:
- Water Reflections: Simulating the appearance of reflections on water surfaces.
- Cloud Patterns: Generating realistic cloud formations for a natural sky effect.
- Organic Textures: Creating lifelike textures for foliage, rocks, and other natural elements.
II. Preparing Your Image for Water Reflections:
A. Selecting an Appropriate Image:
- Choose an image with a prominent element that would realistically cast a reflection on water.
- Scenes with lakes, rivers, or bodies of water work exceptionally well for water reflection effects.
B. High-Resolution Images:
- Begin with a high-resolution image to ensure clarity and detail in the final result.
- Higher resolution allows for more detailed and realistic water reflection effects.
C. Duplicate Your Background Layer:
- Create a duplicate layer of your image to work non-destructively.
- This allows you to compare the original and edited versions, making adjustments as needed.
III. Creating a Water Reflection Using Generative Fill:
A. Adding a New Layer:
- Create a new layer above your duplicated image layer.
- This layer will be dedicated to the generative fill for the water reflection.
B. Applying a Gradient Fill:
- Select the Gradient Tool (Shortcut: G) from the toolbar.
- Choose a Linear Gradient and set the colors to represent the tones of your water reflection (commonly darker shades of the original image).
C. Drawing the Gradient:
- Click and drag the gradient tool vertically from the bottom of the image to the desired height of the water reflection.
- This creates a gradient that mimics the appearance of a reflective surface.
D. Blending Modes and Opacity:
- Experiment with blending modes (commonly Overlay or Soft Light) to seamlessly integrate the water reflection.
- Adjust the layer opacity to fine-tune the subtlety of the reflection effect.
IV. Refining and Customizing Your Water Reflection:
A. Layer Masks for Precision:
- Use layer masks to refine the water reflection’s shape and placement.
- Paint on the layer mask with black to reveal the original image or white to enhance the water reflection.
B. Distorting the Reflection (Optional):
- Apply a distortion filter (Filter > Distort) to the water reflection layer.
- Experiment with filters like Wave or Ripple to add a natural ripple effect to the water.
C. Adjusting Color and Saturation:
- Use adjustment layers to tweak the color and saturation of the water reflection.
- This ensures that the reflection seamlessly blends with the overall color palette of the image.
V. Adding Realism to Water Reflections:
A. Matching Lighting and Shadows:
- Observe the direction of light sources in the original image.
- Adjust the brightness and contrast of the water reflection to match the lighting conditions, including shadows.
B. Creating Ripples and Disturbances:
- Use custom brushes or filters to add subtle ripples or disturbances to the water reflection.
- This adds authenticity to the reflection, especially in scenes with wind or movement.
VI. Saving Your Image with Water Reflection:
A. Save Your Photoshop Document:
- Save your work in the native Photoshop (.PSD) format to retain layers and editable elements.
- This allows for future adjustments and refinements.
B. Exporting for Different Mediums:
- When preparing for print, export your final image in a high-resolution format such as TIFF or PDF.
- For web use, export in web-friendly formats like JPEG or PNG, balancing quality and file size.
VII. Tips for Optimal Water Reflection Results:
A. Observe Real-World Reflections:
- Study real-world reflections on water surfaces to understand the nuances of light, color, and distortion.
- Apply these observations to create more convincing and authentic water reflections.
B. Experiment with Gradient Colors:
- Try experimenting with different colors in the gradient fill to create unique and stylized water reflections.
- Adjusting the tones can add an artistic touch to your imagery.
C. Consider the Image Composition:
- Assess the overall composition of your image to determine the ideal placement and size of the water reflection.
- The reflection should enhance the visual flow and balance of the composition.
VIII. Conclusion:
Mastering generative fill in Photoshop to create realistic water reflections opens up a world of creative opportunities, allowing you to infuse your images with a touch of magic and depth. This comprehensive guide has equipped you with the knowledge and tools to confidently add convincing water reflections to your digital creations. As you explore the nuances of generative fill and refine your skills, the ability to incorporate lifelike water reflections becomes a valuable asset in your artistic toolkit. Embrace experimentation, observe the subtleties of natural reflections, and let the captivating allure of water enhance the visual storytelling in your digital imagery.


