Mastering File Uploads: A Comprehensive Guide to Uploading Files to a Web Server in Adobe Dreamweaver
Adam.Smith May 15, 2024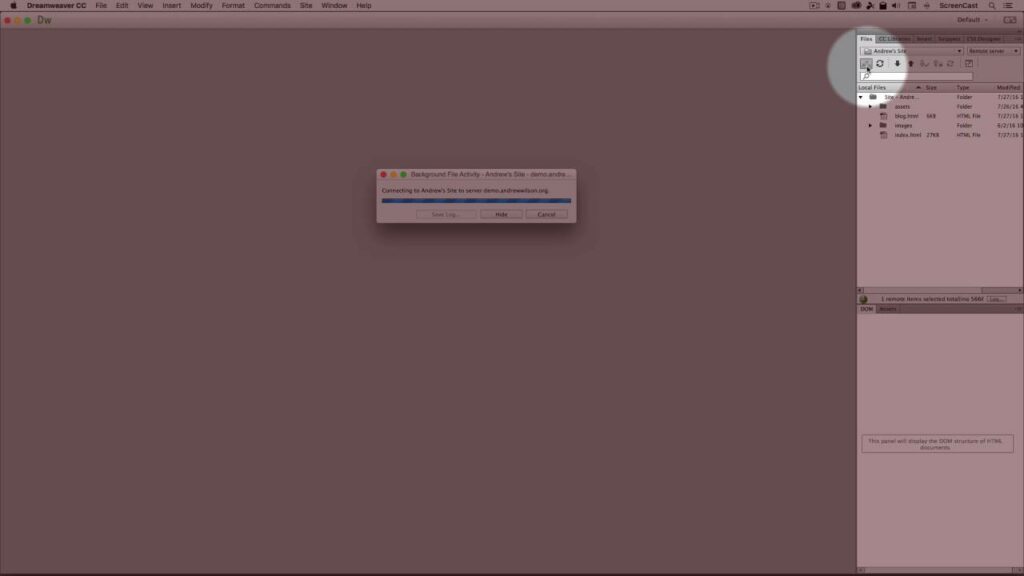
Introduction: Uploading files to a web server is a crucial step in the web development process, allowing designers and developers to publish their websites and make them accessible to the public. Adobe Dreamweaver offers powerful tools and features for uploading files to a web server, simplifying the process and ensuring seamless deployment of web projects. In this extensive guide, we’ll explore the ins and outs of uploading files to a web server in Adobe Dreamweaver, covering everything from defining a remote server connection to synchronizing files and troubleshooting common issues.
Setting Up a Remote Server Connection: Before uploading files to a web server in Adobe Dreamweaver, it’s essential to set up a remote server connection. A remote server connection allows you to transfer files between your local computer and the web server using File Transfer Protocol (FTP), Secure FTP (SFTP), or other protocols supported by Dreamweaver. Here’s how to set up a remote server connection in Dreamweaver:
- Define Site: Go to the “Site” menu, select “New Site,” and enter the site name and local site folder location. Specify the server technology (e.g., PHP, ASP.NET) and choose “No” when prompted to use a server technology for the site.
- Configure Server Settings: In the “Site Setup” dialog box, click on the “Servers” category, then click “Add New Server” to define a new remote server connection. Enter the server name, FTP address (or SFTP address for secure connections), login credentials (username and password), and root directory (remote site folder location).
- Test Connection: Click “Test” to verify the connection to the remote server. Dreamweaver will attempt to connect to the server using the provided settings and display a success or failure message.
Uploading Files to the Web Server: Once you’ve configured a remote server connection in Adobe Dreamweaver, uploading files to the web server is a straightforward process. Here’s how to upload files to a web server in Dreamweaver:
- Connect to Server: Go to the “Site” menu, select “Manage Sites,” and choose the desired site from the list. Click on the “Connect” button to establish a connection to the remote server.
- Select Files: In the Files panel, navigate to the local files or folders you want to upload to the web server. Select the files or folders by clicking on them.
- Upload Files: To upload selected files or folders to the web server, right-click on them within the Files panel and choose “Put” from the context menu. Alternatively, click on the “Put” button in the Files panel toolbar.
Synchronizing Files with the Web Server: In addition to uploading individual files, Adobe Dreamweaver offers a powerful file synchronization feature that allows you to compare local files with remote server files and synchronize changes between the two locations. Here’s how to synchronize files with the web server in Dreamweaver:
- Connect to Server: Ensure that you are connected to the remote server by following the steps outlined above.
- Synchronize Files: Go to the “Site” menu, select “Advanced,” and choose “Synchronize.” Dreamweaver will compare local files with remote server files and display a list of differences.
- Review Changes: Review the list of differences between local files and remote server files. Dreamweaver will indicate whether each file needs to be uploaded, downloaded, or deleted to synchronize with the web server.
- Perform Synchronization: Click on the “Synchronize” button to perform the synchronization operation. Dreamweaver will upload, download, or delete files as necessary to ensure that the local and remote directories are in sync.
Troubleshooting File Uploads: Despite its user-friendly interface and robust features, users may encounter issues when uploading files to a web server in Adobe Dreamweaver. Common issues include connection errors, permission issues, and file conflicts. Here are some troubleshooting tips for resolving file upload issues in Dreamweaver:
- Check Connection Settings: Verify that the remote server connection settings, including the FTP address, username, password, and root directory, are correct and up-to-date.
- Check File Permissions: Ensure that the files and folders you are attempting to upload have the correct permissions set on the remote server. File permissions may affect your ability to upload, download, or modify files.
- Check Firewall and Security Settings: Check your computer’s firewall and security settings to ensure that Dreamweaver has permission to access the internet and establish connections to remote servers.
- Check for File Conflicts: If Dreamweaver detects file conflicts during synchronization, review the list of differences and resolve conflicts manually by choosing whether to upload, download, or delete files as needed.
- Test with Alternate Connection: If you continue to experience issues with file uploads, try connecting to the remote server using an alternate connection method or protocol (e.g., SFTP instead of FTP).
Best Practices for File Uploads: To optimize file uploads to a web server in Adobe Dreamweaver, consider the following best practices:
- Organize Local Files: Maintain a well-organized directory structure for local files and folders to facilitate efficient navigation, editing, and uploading.
- Backup Files: Back up project files and folders regularly to prevent data loss and ensure that you have copies of important files in case of unforeseen issues or errors during file uploads.
- Test Before Deployment: Before deploying changes to the live website, thoroughly test uploads on a staging or development server to ensure that everything works as expected and that there are no issues or errors.
- Monitor Upload Progress: Monitor the progress of file uploads in Dreamweaver’s Activity panel to track upload speed, completion status, and any errors or warnings that may occur during the upload process.
- Keep Software Updated: Keep Adobe Dreamweaver and related software up-to-date with the latest patches, updates, and security fixes to ensure optimal performance and compatibility with web servers and protocols.
Conclusion: Uploading files to a web server is a fundamental aspect of web development, allowing designers and developers to publish their websites and make them accessible to the public. Adobe Dreamweaver provides powerful tools and features for uploading files to a web server, streamlining the process and ensuring seamless deployment of web projects. By following the steps outlined in this comprehensive guide and adhering to best practices, users can effectively manage file uploads, troubleshoot issues, and optimize workflow efficiency in Adobe Dreamweaver, ultimately leading to successful and well-deployed web projects.


