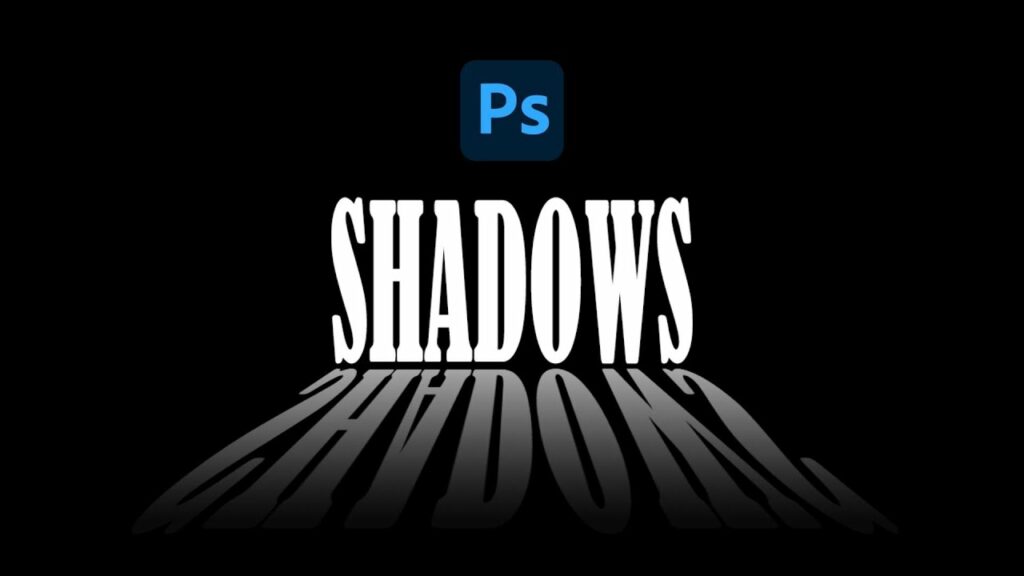
Mastering Dimensionality: A Deep Dive into Creating Perspective Shadow Text Effects in Photoshop
Introduction:
In the dynamic realm of digital design, the convergence of typography and three-dimensional effects breathes life into textual elements. One captivating technique that adds depth and realism to text is the creation of perspective shadow text effects in Adobe Photoshop. This intricate and visually stunning method elevates your typographic designs, making them pop off the canvas with a sense of dimensionality. In this comprehensive guide, we’ll embark on a journey through the step-by-step process, advanced techniques, and creative possibilities of crafting perspective shadow text effects, transforming flat letters into visually engaging, three-dimensional masterpieces.
Understanding the Core Concepts:
Before delving into the nuances of creating perspective shadow text effects, it’s crucial to familiarize yourself with fundamental tools and concepts in Adobe Photoshop.
- Layer Styles: Layer styles form the foundation for many text effects in Photoshop. For perspective shadow text, elements like Bevel & Emboss, Inner Shadow, and Gradient Overlay play pivotal roles.
- Vanishing Point: The Vanishing Point filter in Photoshop is a powerful tool for creating realistic perspective. It allows you to define a perspective grid, ensuring that shadows and text elements align seamlessly within the chosen perspective.
- Brush Tool: The Brush tool, coupled with a soft brush and varying opacities, is instrumental for crafting subtle shadows and highlights that contribute to the illusion of depth.
- Blending Modes: Understanding blending modes is crucial for achieving realistic shadows. Experiment with modes like Multiply, Overlay, and Soft Light to seamlessly integrate shadows with underlying layers.
Step-by-Step Guide:
Let’s embark on a comprehensive journey to unlock the secrets of crafting perspective shadow text effects in Photoshop. This guide covers essential techniques and offers insights into achieving realistic and visually impactful results.
Step 1: Setting the Scene
- Open a New Document: Launch Photoshop and create a new document with dimensions that suit your project. Consider factors like resolution, color mode, and canvas size based on your intended use.
- Background Layer: Establish a background layer, either a solid color, gradient, or image, to provide context for your perspective shadow text.
Step 2: Crafting Your Text
- Text Tool: Select the Text tool and type out the text you want to apply the perspective shadow effect to. Experiment with different fonts, sizes, and styles to find the perfect fit for your design.
- Rasterize Text: Right-click on the text layer and choose “Rasterize Type.” This step is essential for applying layer styles and advanced effects.
Step 3: Applying Layer Styles
- Bevel & Emboss: Apply Bevel & Emboss layer style to create a three-dimensional appearance for the text. Adjust settings like Depth, Size, and Soften to achieve the desired level of realism.
- Inner Shadow: Use Inner Shadow to introduce subtle shading within the contours of the text. Adjust opacity, distance, and size to control the intensity and direction of the inner shadow.
- Gradient Overlay: Apply Gradient Overlay to add depth and dimension to the text. Experiment with gradient styles and colors to create a realistic transition from light to shadow.
Step 4: Define the Perspective Grid
- Vanishing Point Filter: Navigate to Filter > Vanishing Point. Use the Create Plane tool to define a perspective grid by clicking on the corners of a surface where you want the text to appear.
- Define Text Area: Use the Text tool within the Vanishing Point filter to define the area where you want the text to be placed. This ensures that the text follows the perspective of the grid.
Step 5: Placing Text within Perspective
- Paste Text into Vanishing Point: Copy your rasterized text from the main document and paste it into the Vanishing Point grid. Adjust the size and position to align with the defined perspective.
- Adjust Perspective Text: Fine-tune the appearance of the text within the Vanishing Point filter. Use the Transform tool to scale, rotate, and position the text for optimal integration with the perspective grid.
Step 6: Creating Realistic Shadows
- Duplicate Text Layer: Duplicate the text layer within the Vanishing Point filter. This duplicate will serve as the shadow layer.
- Apply Gradient Overlay to Shadow: Apply a Gradient Overlay to the shadow layer, choosing a gradient that represents the transition from the darkest part of the shadow to the lighter areas. Adjust the angle to match the light source in your design.
- Distort and Blur Shadow: Use the Transform tool to distort the shadow layer to match the perspective. Apply a Gaussian Blur to the shadow layer to soften the edges, creating a realistic shadow effect.
Step 7: Refining and Detailing
- Adjust Opacity: Fine-tune the overall appearance by adjusting the opacity of both the text and shadow layers. This step ensures a seamless integration with the background and enhances the realism of the effect.
- Add Highlights: Use the Brush tool with a soft brush to add highlights to the text. Create subtle highlights on the portions of the text that would catch the most light, enhancing the three-dimensional illusion.
Step 8: Final Touches and Export
- Merge Layers: Once satisfied with the perspective shadow text effect, merge the visible layers or group them for easier management.
- Save and Export: Save your work in a format that preserves layers (like PSD) for future editing. If your project is finalized, export it in the desired format for sharing, printing, or web use.
Creative Possibilities and Inspirations:
Perspective shadow text effects open up a realm of creative possibilities. Here are some ideas to spark your inspiration:
- Urban Typography: Apply perspective shadow effects to create urban and architectural-themed text. Imagine text casting shadows on cityscapes or against brick walls for a gritty and dynamic visual impact.
- Nature-inspired Shadows: Experiment with shadows that mimic natural environments. Imagine text placed on a forest floor, casting dappled sunlight shadows, or text on a beach with shadows influenced by the setting sun.
- Surrealistic Effects: Push the boundaries of reality by incorporating surrealistic elements. Experiment with floating text casting ethereal shadows or text merging seamlessly with fantastical backgrounds.
- Vintage Signage: Create vintage-inspired signage with text that appears weathered and cast realistic shadows. Experiment with neon lights or distressed textures for added authenticity.
- Typography in Motion: Infuse a sense of movement by applying perspective shadow effects to text that appears as if it’s in motion. Experiment with dynamic angles and shadow trails for an energetic vibe.
Conclusion:
Mastering the art of perspective shadow text effects in Photoshop transforms your typographic designs from two-dimensional to three-dimensional, adding a touch of realism and dynamism. As you navigate the intricacies outlined in this guide, remember that experimentation is key to discovering your unique style within the vast landscape of digital design.
Harness the power of layer styles, Vanishing Point, and realistic shadows to breathe life into your typography. From the initial steps of setting the scene to the final touches that refine your masterpiece, perspective shadow text effects represent a captivating fusion of design and illusion. Embrace the journey of turning flat letters into visually striking and realistic three-dimensional elements, and let your creativity soar in the boundless expanse of perspective typography. Happy creating!


