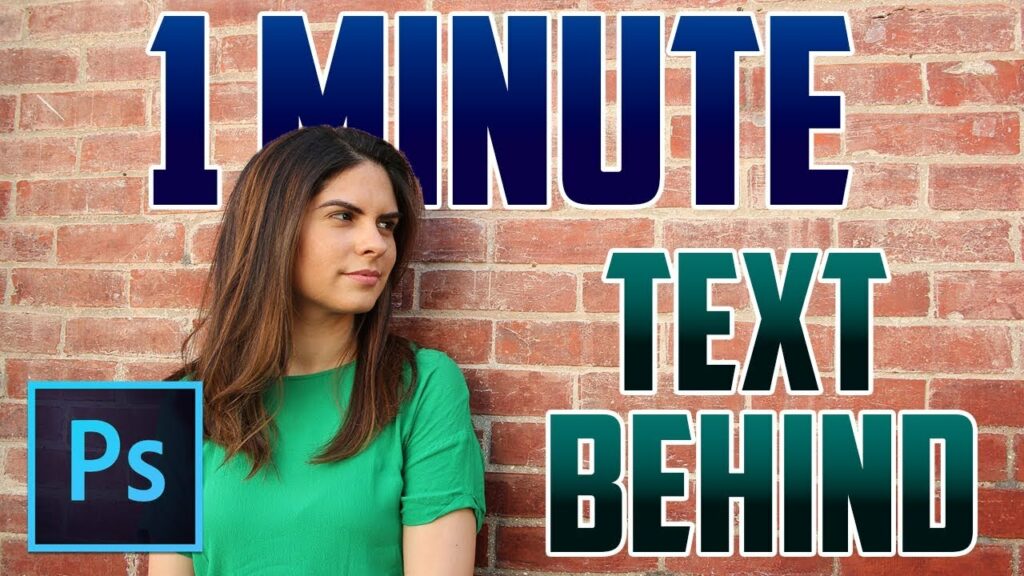
Mastering Depth: A Comprehensive Guide to Placing Text Behind Objects in Photoshop

Adobe Photoshop, a versatile and powerful tool for digital design, empowers artists and designers to explore creative depths within their projects. One intriguing technique that adds a layer of sophistication and depth is placing text behind objects. In this extensive guide, we will unravel the steps to seamlessly integrate text behind objects in Photoshop, exploring the tools, techniques, and nuances that ensure your designs achieve a harmonious blend of elements.
Section 1: Setting the Stage
1.1 Creating a New Canvas
Open Adobe Photoshop and create a new document or open an existing project where you want to incorporate text behind objects. Consider the overall theme and composition to determine the best placement for your text.
1.2 Importing Objects and Text
If your project involves specific objects, import them into the canvas. Use the Place Embedded or Place Linked options to bring in external images or assets. Next, use the Text tool (T) to add the text you want to position behind these objects.
Section 2: Layer Organization
2.1 Layer Stacking Order
Understanding the layer stacking order is crucial when working with elements in Photoshop. In the Layers panel, the order of layers determines their visibility on the canvas. Objects on higher layers appear in front, while those on lower layers are positioned behind.
2.2 Creating Separate Layers
For optimal control, place each object and text element on its own layer. Right-click on the layer in the Layers panel and choose “Convert to Smart Object” if you want to maintain flexibility for future edits.
Section 3: Clipping Masks
3.1 Defining Clipping Masks
Clipping masks are a fundamental tool for placing text behind objects. Create a new layer above the object you want to interact with, then right-click and choose “Create Clipping Mask.” Anything painted on this new layer will be confined to the shape of the object beneath it.
3.2 Applying Clipping Masks to Text
Select the text layer, create a new layer above it, and apply a clipping mask. Now, any changes or additions you make on this new layer will be restricted to the boundaries of the text, creating the illusion of the text being behind the object.
Section 4: Layer Opacity and Blend Modes
4.1 Adjusting Layer Opacity
Fine-tune the visibility of your text and objects by adjusting layer opacity. Lowering the opacity of the text layer allows the object to partially show through, creating a subtle blending effect.
4.2 Blend Modes for Harmony
Experiment with different blend modes for both the text and object layers. Common blend modes like Multiply, Overlay, or Soft Light can enhance the interaction between text and objects, creating a cohesive and visually appealing result.
Section 5: Erasing and Masking Techniques
5.1 Eraser Tool for Precision
Refine the integration of text and objects using the Eraser tool (E). Adjust the brush size and hardness for precision, selectively erasing parts of the text to seamlessly merge it with the object.
5.2 Layer Masks for Flexibility
For non-destructive editing, use layer masks. Add a layer mask to the text layer and paint on the mask with black to hide parts of the text. White reveals, black conceals, providing a flexible way to adjust the visibility of the text behind objects.
Section 6: 3D Effects and Perspective
6.1 Utilizing Perspective Transform
If your scene involves perspective, use the Perspective Transform tool (Edit > Transform > Perspective) to adjust the text accordingly. This ensures that the text aligns seamlessly with the perspective of the objects in the scene.
6.2 Drop Shadows for Realism
Add a touch of realism by incorporating drop shadows. Select the text layer, go to “Layer Style” in the Layers panel, and choose “Drop Shadow.” Adjust the settings to cast a shadow that aligns with the lighting of the scene.
Section 7: Color Matching and Correction
7.1 Color Harmony
Achieve a harmonious color palette by ensuring that the text and objects complement each other. Adjust the color balance, saturation, and hue to create a unified and visually pleasing composition.
7.2 Color Correction Layers
Use adjustment layers for color correction. Experiment with tools like Curves, Levels, or Hue/Saturation to refine the colors of both text and objects, ensuring they seamlessly integrate into the overall design.
Section 8: Final Touches and Exporting
8.1 Fine-Tuning Details
Review your composition and make any final adjustments. Check for consistency in lighting, shadows, and overall visual balance. Pay attention to details to ensure a polished and professional result.
8.2 Exporting for Different Purposes
When satisfied with your design, save your Photoshop project (PSD file) for future edits. For sharing or publishing, export the file in a suitable format such as JPEG or PNG, ensuring that the layers are appropriately merged or maintained based on your intended use.
Conclusion: Crafting Depth and Dimension
Placing text behind objects in Photoshop is a nuanced art that requires a blend of technical skills and creative intuition. By mastering the use of clipping masks, layer organization, blending modes, and other advanced techniques, you can seamlessly integrate text into your visual compositions, adding depth and dimension.


