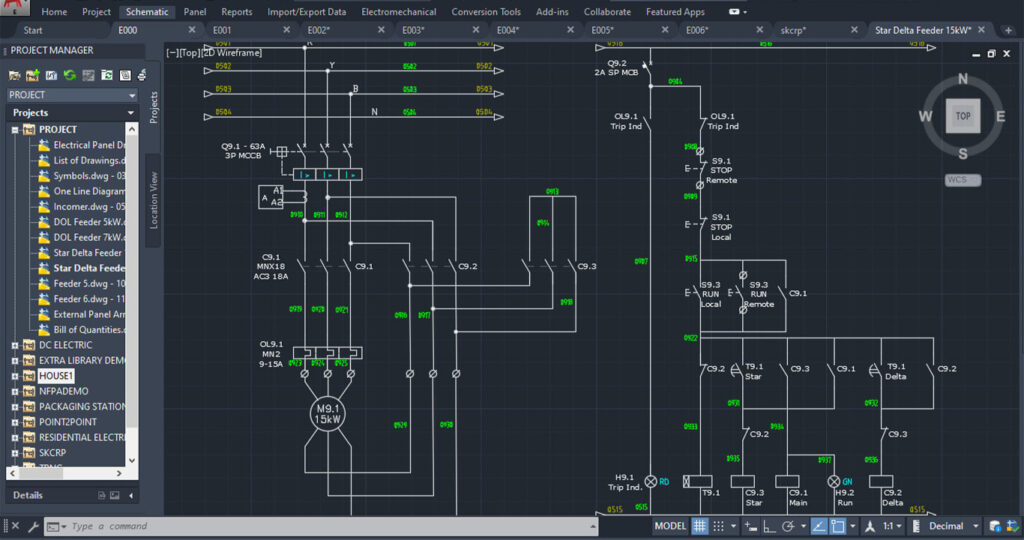
Customizing the User Interface in Autodesk Electrical: Enhancing Productivity and Workflow Efficiency

Autodesk Electrical offers a powerful and flexible user interface that can be customized to meet the specific needs and preferences of individual users. From rearranging tool palettes to creating custom commands, understanding and leveraging the customization options available can significantly improve productivity, streamline workflow, and enhance the overall user experience. In this comprehensive guide, we will explore the process of customizing the user interface in Autodesk Electrical, providing step-by-step instructions, best practices, and expert tips to help you optimize your workspace for maximum efficiency.
Understanding User Interface Customization
User interface customization in Autodesk Electrical encompasses a wide range of options and features that allow users to personalize their workspace and tailor it to their workflow preferences. Key areas of customization include:
- Tool Palettes: Rearranging, grouping, and organizing tool palettes to streamline access to frequently used commands and tools.
- Ribbon Tabs and Panels: Customizing ribbon tabs, panels, and buttons to create custom workflows and access specialized commands and features.
- Keyboard Shortcuts: Assigning custom keyboard shortcuts to frequently used commands and functions to improve efficiency and productivity.
- Command Aliases: Creating custom command aliases for commonly used commands to streamline input and reduce typing.
- Workspaces: Saving custom workspace configurations to maintain personalized layouts and settings across sessions.
Customizing the User Interface in Autodesk Electrical
Now, let’s explore the step-by-step process of customizing the user interface in Autodesk Electrical:
Step 1: Accessing the Customize User Interface Dialog Box
- Open Autodesk Electrical and navigate to the “Manage” tab on the ribbon.
- Click on the “Customize” button in the “Customization” panel to access the Customize User Interface dialog box.
Step 2: Customizing Tool Palettes
- In the Customize User Interface dialog box, navigate to the “Tool Palettes” tab.
- Rearrange tool palettes by dragging and dropping them to desired locations or grouping related tools together.
- Customize tool palette properties, such as size, orientation, and visibility, to optimize workspace layout.
Step 3: Customizing Ribbon Tabs and Panels
- Switch to the “Ribbon” tab in the Customize User Interface dialog box.
- Customize ribbon tabs and panels by adding, removing, or rearranging buttons and controls.
- Create custom ribbon tabs and panels to group related commands and features for easy access.
Step 4: Assigning Keyboard Shortcuts and Command Aliases
- Navigate to the “Keyboard Shortcuts” and “Command Aliases” tabs in the Customize User Interface dialog box.
- Assign custom keyboard shortcuts to commands by selecting the command and pressing the desired key combination.
- Create custom command aliases by entering the desired alias for the command in the Command Aliases tab.
Step 5: Saving Custom Workspace Configurations
- Once you have customized the user interface to your liking, save the custom workspace configuration.
- Click on the “Save As” button in the Customize User Interface dialog box and enter a name for the custom workspace.
- To load a custom workspace configuration, select it from the list of available workspaces in the Customize User Interface dialog box.
Best Practices for User Interface Customization
To optimize your user interface customization in Autodesk Electrical, consider the following best practices:
- Simplicity: Keep the interface clean and uncluttered by only including essential tools and commands.
- Consistency: Maintain consistency in layout and organization across workspaces to facilitate ease of use and familiarity.
- Feedback: Solicit feedback from users and incorporate suggestions for improvement to enhance usability and efficiency.
- Documentation: Document customizations, keyboard shortcuts, and command aliases for reference and training purposes.
Conclusion
Customizing the user interface in Autodesk Electrical is a powerful way to enhance productivity, streamline workflow, and optimize efficiency. By understanding and leveraging the customization options available, users can tailor their workspace to meet their specific needs and preferences, resulting in a more intuitive and productive design experience. Whether you’re a seasoned Autodesk Electrical user or just getting started, proficiency in user interface customization will enable you to maximize your productivity and achieve your design goals with confidence.


