Configuring AutoCAD Electrical Settings: A Comprehensive Guide to Customizing Your Environment
AutoCAD Electrical offers a wide range of settings and options that allow users to tailor the software to their specific needs and preferences. From workspace layouts to drafting standards, understanding and configuring these settings can significantly improve efficiency, productivity, and workflow consistency. In this extensive guide, we will explore the process of configuring AutoCAD Electrical settings in detail, providing step-by-step instructions, best practices, and expert tips to help you optimize your AutoCAD Electrical environment for maximum effectiveness.
Understanding AutoCAD Electrical Settings
AutoCAD Electrical settings encompass a variety of configurations that govern the behavior, appearance, and functionality of the software. These settings can be adjusted to accommodate individual user preferences, project requirements, and industry standards. Key areas of configuration include:
- Workspace Configuration: Customizing the layout, tool palettes, ribbon tabs, and menus to streamline workflow and access frequently used commands.
- Drawing Standards: Establishing drafting standards, layer properties, text styles, and dimension styles to ensure consistency and compliance with industry standards.
- Project Settings: Setting up project-specific preferences, such as project units, drawing templates, and project-specific symbol libraries.
- Plotting and Publishing: Configuring plot styles, paper sizes, and publishing options for generating printed output and electronic documents.
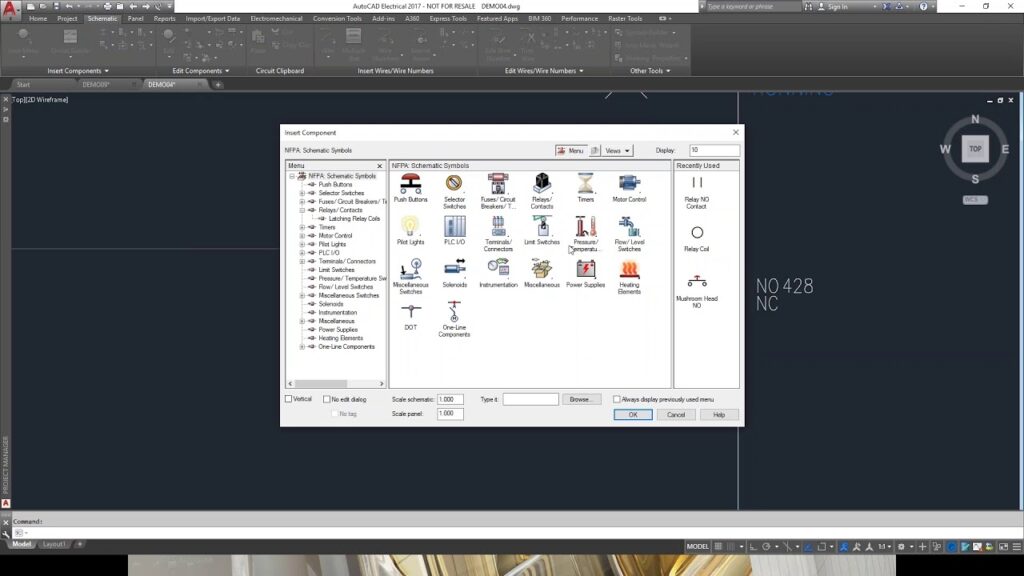
- Electrical Component Libraries: Managing and customizing the built-in libraries of electrical symbols, components, and parts to match project requirements.
Configuring AutoCAD Electrical Settings
Now, let’s explore the step-by-step process of configuring AutoCAD Electrical settings:
Step 1: Accessing the Options Dialog Box
- Open AutoCAD Electrical and navigate to the “Manage” tab on the ribbon.
- Click on the “Options” button in the “Customization” panel to access the Options dialog box.
Step 2: Workspace Configuration
- Customize the workspace layout by rearranging tool palettes, ribbon tabs, and menus to suit your workflow preferences.
- Save custom workspace configurations for easy access and reuse.
Step 3: Drawing Standards
- Define drafting standards, including layer properties, text styles, dimension styles, and linetypes, to ensure consistency across drawings.
- Import and apply standard templates and settings to new drawings to maintain uniformity.
Step 4: Project Settings
- Set project-specific preferences, such as project units, drawing templates, and symbol libraries, in the Project Setup dialog box.
- Configure project-wide settings for wire numbering, cross-referencing, and other design automation features.
Step 5: Plotting and Publishing
- Configure plot styles, paper sizes, and plot settings in the Plot dialog box to generate printed output and electronic documents.
- Define publishing options for batch plotting and electronic distribution of drawing sets.
Step 6: Electrical Component Libraries
- Customize the built-in libraries of electrical symbols, components, and parts to match project requirements.
- Create and manage custom symbol libraries for specialized applications or unique project needs.
Best Practices for AutoCAD Electrical Settings Configuration
To optimize your AutoCAD Electrical environment, consider the following best practices:
- Standardization: Establish and enforce standardized settings and configurations across projects to ensure consistency and compliance with industry standards.
- Documentation: Document custom settings, configurations, and standards for reference and future use.
- Training and Education: Provide training and education to users on best practices for configuring AutoCAD Electrical settings and optimizing workflow efficiency.
- Regular Review and Updates: Periodically review and update settings and configurations to adapt to changing project requirements and technological advancements.
Conclusion
Configuring AutoCAD Electrical settings is a critical step in optimizing your workflow and maximizing productivity. By understanding the various options and configurations available, users can tailor the software to their specific needs and preferences, ensuring consistency, efficiency, and compliance with industry standards. Whether you’re a seasoned AutoCAD Electrical user or just getting started, proficiency in configuring settings will enable you to enhance your design process, streamline workflow, and achieve project success with confidence.


