Crafting Harmony: A Comprehensive Guide to Creating Custom Blends in Adobe Illustrator

Introduction:
In the expansive realm of digital design, Adobe Illustrator stands as a pinnacle of creativity, offering an arsenal of tools and features to empower artists, designers, and creators. Among its vast array of capabilities, the creation of custom blends emerges as a versatile technique for seamlessly transitioning between shapes, colors, and gradients. Whether you’re a seasoned illustrator, a graphic designer, or an aspiring artist, mastering the art of creating custom blends in Adobe Illustrator opens up a world of possibilities for creating dynamic and visually captivating artwork. In this comprehensive guide, we’ll embark on a journey to explore the techniques and tools needed to master the creation of custom blends, empowering you to infuse your designs with fluidity, depth, and harmony.
Chapter 1: Understanding Blends
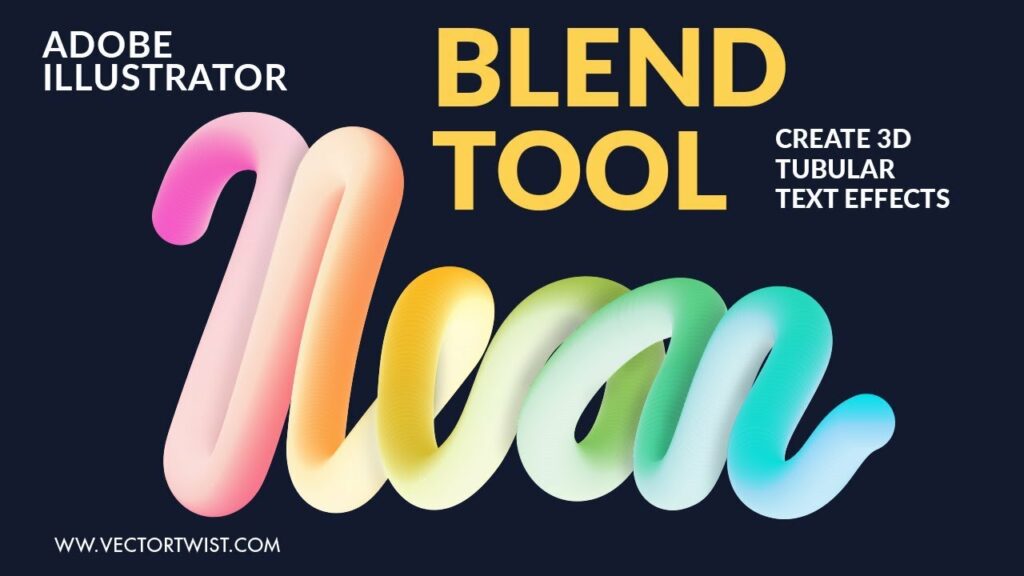
At its core, blending in Adobe Illustrator involves seamlessly transitioning between two or more shapes, colors, or gradients to create smooth and cohesive transitions. Blends can be used to create a variety of effects, including color transitions, gradient meshes, and complex shapes. Understanding the principles of blending, such as blend types, blend steps, and blend options, lays the foundation for creating custom blends that suit your artistic vision.
Chapter 2: Exploring the Blend Options
Before delving into the creation process, it’s essential to familiarize yourself with the various options and settings available for blends in Adobe Illustrator. The Blend Options dialog box provides a range of options for customizing blends, such as blend steps, spacing, and orientation. Experiment with adjusting settings such as blend steps to control the number of intermediate shapes in the blend, or spacing to specify the distance between shapes in the blend. Additionally, explore the Blend Tool preferences in the Adobe Illustrator settings to customize default settings such as blend color and alignment.
Chapter 3: Creating Basic Blends
To create a basic blend in Adobe Illustrator, start by selecting two or more objects or shapes that you want to blend together. With the objects selected, choose Object > Blend > Make or use the keyboard shortcut Ctrl + Alt + B (Windows) or Command + Option + B (Mac). Illustrator will automatically create a blend between the selected objects, interpolating smoothly between their shapes, colors, or gradients. Experiment with different blend options and settings to achieve the desired effect, adjusting parameters such as blend steps, spacing, and orientation to customize the appearance of the blend.
Chapter 4: Customizing Blend Paths
In addition to creating basic blends between shapes, Adobe Illustrator offers the ability to customize the paths of blends, allowing for more intricate and dynamic effects. To customize the path of a blend, first create a basic blend between two or more objects as described in Chapter 3. With the blend selected, use the Direct Selection Tool (A) to adjust the anchor points and paths of the objects in the blend. Experiment with editing the shapes, curves, and angles of the objects to create custom paths that flow smoothly and seamlessly between the shapes.
Chapter 5: Creating Color Blends
Color blends in Adobe Illustrator involve transitioning between two or more colors or gradients in a smooth and seamless manner. To create a color blend, start by selecting two or more objects or shapes with different colors or gradients. With the objects selected, choose Object > Blend > Make or use the keyboard shortcut Ctrl + Alt + B (Windows) or Command + Option + B (Mac). Illustrator will automatically create a blend between the selected objects, interpolating smoothly between their colors or gradients. Experiment with different blend options and settings to achieve the desired color transition, adjusting parameters such as blend steps, spacing, and orientation to customize the appearance of the color blend.
Chapter 6: Creating Gradient Blends
Gradient blends in Adobe Illustrator involve transitioning between two or more gradient fills or mesh gradients in a smooth and seamless manner. To create a gradient blend, start by selecting two or more objects or shapes with different gradient fills or mesh gradients. With the objects selected, choose Object > Blend > Make or use the keyboard shortcut Ctrl + Alt + B (Windows) or Command + Option + B (Mac). Illustrator will automatically create a blend between the selected objects, interpolating smoothly between their gradient fills or mesh gradients. Experiment with different blend options and settings to achieve the desired gradient transition, adjusting parameters such as blend steps, spacing, and orientation to customize the appearance of the gradient blend.
Chapter 7: Advanced Blend Techniques
In addition to basic blends, Adobe Illustrator offers a variety of advanced techniques for creating custom blends that push the boundaries of creativity. Experiment with using blends to create complex shapes, patterns, and textures by blending multiple objects together in intricate arrangements. Explore techniques such as pathfinder operations, envelope distortions, and clipping masks to further customize and refine your blends. Use blend effects such as opacity, transparency, and blending modes to create subtle or dramatic effects that enhance the visual impact of your artwork.
Chapter 8: Saving and Sharing Custom Blends
Once you’ve created your custom blends in Adobe Illustrator, it’s important to save and share them for future use or collaboration. To save a custom blend, select the blend object, then choose Object > Blend > Expand to convert the blend into individual shapes. You can then save the individual shapes as separate objects or group them together for easier manipulation. Alternatively, save your custom blends as graphic styles, allowing you to apply them to other objects and shapes with a single click. Share your custom blends with others by saving them as graphic style libraries or exporting them as SVG files for compatibility with other vector graphics software.
Conclusion:
Creating custom blends in Adobe Illustrator is a journey of exploration and experimentation, offering endless possibilities for creating smooth and seamless transitions between shapes, colors, and gradients. By understanding the principles of blending, exploring the blend options and settings, creating basic blends, customizing blend paths, creating color and gradient blends, mastering advanced blend techniques, and saving and sharing custom blends, you’ll be able to create stunning artwork that captivates and inspires viewers. So grab your stylus, set your sights on the canvas, and let Adobe Illustrator become your trusted ally for creating custom blends that elevate your designs to new heights of creativity and sophistication.


