Unleashing Design Precision: A Comprehensive Guide to the Impact Tool in CorelDRAW
Introduction:
In the realm of graphic design, precision and impact are paramount. CorelDRAW, a leading vector graphics software, equips designers with a diverse array of tools to elevate their creations. Among these tools, the Impact Tool stands out as a powerful instrument for adding depth, texture, and visual emphasis to design elements. This comprehensive guide aims to explore the intricacies of the Impact Tool in CorelDRAW, offering designers a roadmap to unleash its potential. From understanding the basics to exploring advanced techniques, this tutorial seeks to empower designers with the knowledge and skills to wield the Impact Tool effectively in their creative endeavors.
Understanding the Impact Tool:
The Impact Tool in CorelDRAW is a versatile feature designed to create a three-dimensional effect by simulating the appearance of raised or embossed surfaces. It allows designers to add depth and tactile qualities to selected objects, text, or shapes, transforming two-dimensional elements into visually compelling and impactful design elements. The Impact Tool offers a range of customization options, enabling designers to tailor the intensity, direction, and style of the impact effect to suit their creative vision.
Basic Steps for Using the Impact Tool:
- Select the Object: Start by launching CorelDRAW and opening the document containing the object you wish to apply the impact effect to. Select the object using the Pick Tool or any other selection method.
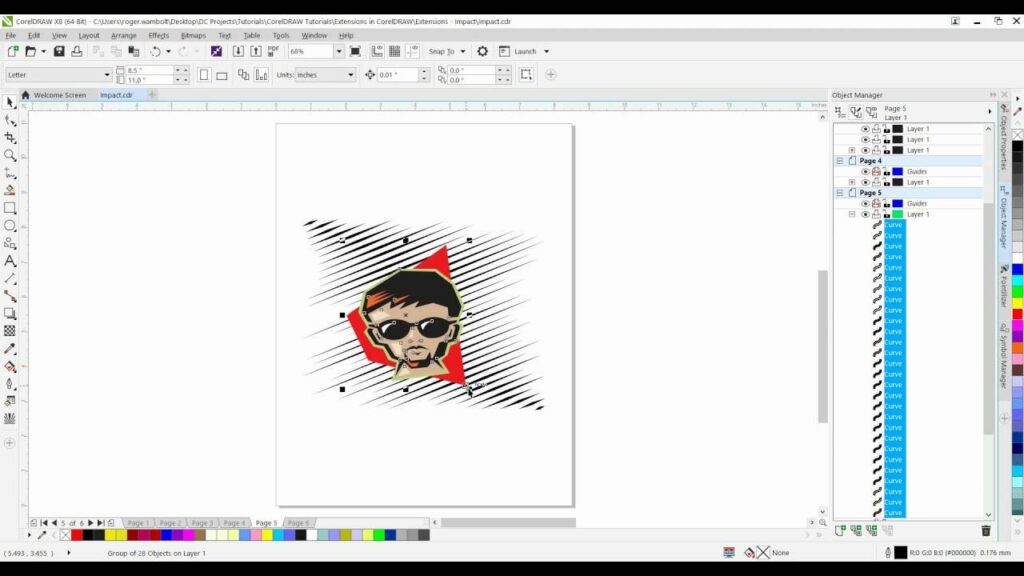
- Access the Impact Tool: Locate the Impact Tool in the toolbox, typically represented by an icon resembling a stylized letter “i” with a shadow. Click on the Impact Tool icon to activate it.
- Adjust Impact Settings: With the Impact Tool activated, click on the selected object. The Property Bar will display a range of settings for the Impact Tool, including Depth, Direction, and Softness. Adjust these settings to achieve the desired impact effect.
- Preview the Effect: Utilize the preview feature to see real-time changes as you adjust the Impact Tool settings. This allows designers to fine-tune the effect before finalizing the application.
- Apply the Impact Effect: Once satisfied with the impact settings, click “Apply” to implement the effect on the selected object. The Impact Tool will simulate the appearance of a raised or embossed surface based on the specified parameters.
Advanced Techniques for the Impact Tool:
- Layered Impact Effects: Experiment with creating layered impact effects by applying the Impact Tool to multiple objects. Adjust the depth and direction for each layer to achieve a nuanced and multi-dimensional appearance.
- Combining with Other Effects: Enhance the impact effect by combining it with other CorelDRAW effects. Experiment with transparency, shadows, or blends to create complex and visually rich design elements.
- Custom Impact Styles: Create custom impact styles by adjusting the Softness and Direction settings in unique combinations. This allows designers to tailor the impact effect to match specific design themes or visual aesthetics.
- Textured Impact Surfaces: Infuse texture into the impact effect by applying bitmap textures or patterns to the affected surface. This technique adds a tactile dimension to the design, making the impact effect more visually engaging.
- Interactive Impact Editing: Leverage CorelDRAW’s interactive features to edit impact effects in real-time. The interactive editing mode allows designers to make adjustments and preview the impact effect dynamically.
Best Practices for Using the Impact Tool in CorelDRAW:
- Consider the Design Context: Assess the overall design context before applying the Impact Tool. Consider the visual hierarchy, focal points, and intended emphasis within the design to ensure that the impact effect enhances rather than overwhelms the composition.
- Maintain Consistency: Maintain consistency in impact styles across design elements for a cohesive visual language. Consistent use of the Impact Tool contributes to a unified and polished design aesthetic.
- Balance Depth and Softness: Strike a balance between depth and softness when adjusting the Impact Tool settings. Too much depth may result in a harsh effect, while too much softness may diminish the impact. Aim for a harmonious combination based on the design requirements.
- Optimize for Various Outputs: Design with different outputs in mind, such as print and digital media. Ensure that the impact effect translates effectively across various mediums and retains its visual impact at different scales.
- Experiment with Lighting Angles: Explore the impact of changing lighting angles on the effect. Adjusting the direction of the Impact Tool can create varied visual outcomes, allowing designers to tailor the effect to specific design scenarios.
Conclusion:
The Impact Tool in CorelDRAW emerges as a valuable asset in the designer’s toolkit, offering a gateway to heightened visual impact and precision. By understanding the fundamental steps, exploring advanced techniques, and adhering to best practices, designers can harness the full potential of the Impact Tool to elevate their designs. Whether creating logos, illustrations, or intricate compositions, the Impact Tool empowers designers to infuse depth and tactile qualities into their creations, making a lasting impression on viewers. As you embark on your design journey with CorelDRAW’s Impact Tool, let this comprehensive guide serve as a source of inspiration and a reference to unlock the transformative capabilities of this powerful design instrument. May your designs resonate with impact, capturing the attention and admiration of audiences across diverse platforms.


