Navigating the Sphere: A Comprehensive Guide to Creating 360-Degree Videos in Adobe Premiere Pro
Introduction: 360-degree videos offer viewers an immersive and interactive viewing experience, allowing them to explore scenes from every angle and perspective. Whether you’re capturing breathtaking landscapes, immersive virtual reality experiences, or engaging storytelling narratives, creating 360-degree videos opens up a world of creative possibilities. Adobe Premiere Pro, a leading video editing software, provides powerful tools and features for editing and exporting 360-degree content, empowering filmmakers and content creators to bring their vision to life in this exciting format. In this comprehensive guide, we’ll delve into the intricacies of creating 360-degree videos in Adobe Premiere Pro, covering techniques, workflows, and expert tips to help you master this cutting-edge form of visual storytelling.
Understanding 360-Degree Videos in Adobe Premiere Pro: 360-degree videos, also known as spherical videos or immersive videos, capture a panoramic view of the surrounding environment, allowing viewers to navigate and explore the scene in all directions. Creating 360-degree videos involves stitching together footage from multiple cameras or using specialized 360-degree cameras to capture the entire spherical environment. Adobe Premiere Pro provides comprehensive support for editing and exporting 360-degree content, allowing editors to seamlessly integrate 360-degree footage into their projects, apply effects and transitions, and export optimized files for distribution on platforms like YouTube, Facebook, and VR headsets. By mastering the tools and techniques for creating 360-degree videos in Premiere Pro, filmmakers can unlock new levels of creativity and deliver immersive experiences to their audiences.
Step-by-Step Guide to Creating 360-Degree Videos in Adobe Premiere Pro:
- Capture 360-Degree Footage: Start by capturing 360-degree footage using a specialized 360-degree camera or a rig of multiple cameras arranged to cover the entire spherical environment. Ensure that the cameras are synchronized and calibrated to capture consistent and seamless footage.
- Import Footage into Premiere Pro: After capturing your 360-degree footage, transfer the files to your computer and import them into Adobe Premiere Pro. Create a new project and organize your media in the Project panel for easy access.
- Set Up Sequence Settings: Before editing your 360-degree footage, create a new sequence with settings optimized for 360-degree video. Go to the File menu, select New > Sequence, then choose a sequence preset that matches the resolution and frame rate of your footage. You can also customize the sequence settings manually to match your specific project requirements.
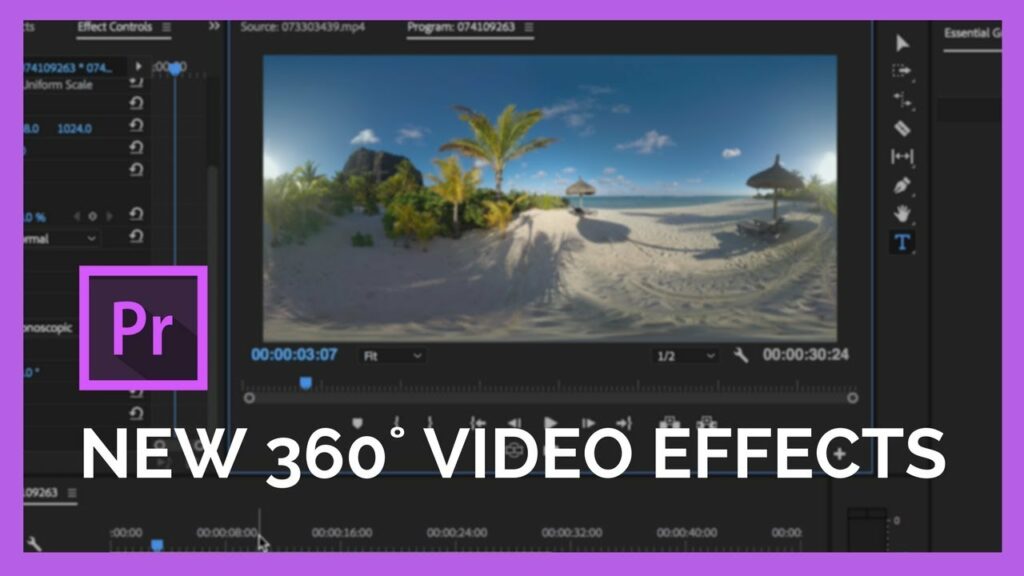
- Apply 360-Degree Metadata: To enable Premiere Pro to recognize and properly interpret your 360-degree footage, apply 360-degree metadata to the video files. Right-click on each video clip in the Project panel, select Metadata > Basic, then check the “360” checkbox to indicate that the footage is 360-degree.
- Edit and Enhance Footage: Once your sequence is set up, you can begin editing and enhancing your 360-degree footage in Premiere Pro. Use familiar editing tools and techniques to trim, cut, and rearrange clips, apply effects and transitions, and adjust color and audio settings to enhance the visual and auditory quality of your video.
- Navigate in VR Viewer: To preview your 360-degree video in Premiere Pro, use the VR Video Viewer to navigate and explore the spherical environment. Go to the Window menu, select Virtual Reality Video, then click on the VR Video Viewer tab to open the viewer. Use the mouse or keyboard shortcuts to pan, tilt, and zoom within the 360-degree video.
- Add Text, Graphics, and Effects: Enhance your 360-degree video with text, graphics, and visual effects to engage viewers and convey information. Use the Titler tool to add text overlays, import graphics and logos to brand your video, and apply effects like color correction, stabilization, and distortion correction to optimize the visual quality of your footage.
- Seamless Transitions and Stitching: When editing 360-degree videos, pay close attention to transitions and stitching points between clips to ensure a seamless viewing experience. Use crossfades, dissolves, and other transition effects to smooth out transitions and minimize visible stitching artifacts between different camera angles or scenes.
- Test and Preview: After editing your 360-degree video, preview the footage in the VR Video Viewer to assess the overall quality and ensure that the stitching, transitions, and effects are applied correctly. Test the video on different playback devices and VR headsets to verify compatibility and performance.
- Export for Distribution: Once you’re satisfied with your 360-degree video, export the footage from Premiere Pro in a format optimized for distribution on platforms like YouTube, Facebook, or VR headsets. Go to the File menu, select Export > Media, then choose the desired output format, codec, resolution, and other export settings. Ensure that you select the appropriate options for 360-degree video, such as spherical metadata and equirectangular projection, to maintain compatibility with VR playback.
- Upload and Share: After exporting your 360-degree video, upload the file to your preferred distribution platform or VR channel to share it with your audience. Add relevant metadata, descriptions, and tags to optimize discoverability and engagement, and promote your video across social media channels and VR communities to reach a wider audience.
Tips and Best Practices for Creating 360-Degree Videos in Adobe Premiere Pro:
- Plan Your Shots and Storytelling: Before shooting your 360-degree video, carefully plan your shots and storytelling to maximize the impact and engagement of your content. Consider the unique opportunities and challenges of the 360-degree format and experiment with creative techniques to guide viewers’ attention and immerse them in the narrative.
- Maintain Consistency in Exposure and Lighting: When shooting 360-degree footage with multiple cameras or in different lighting conditions, strive to maintain consistency in exposure and lighting to ensure smooth transitions between clips and scenes. Use manual exposure settings, white balance adjustments, and lighting techniques to achieve consistent visual quality across the entire video.
- Experiment with Spatial Audio: Enhance the immersive experience of your 360-degree video by incorporating spatial audio techniques to create a sense of depth and realism. Experiment with ambisonic audio recording, directional sound effects, and spatial audio plugins in Premiere Pro to place viewers at the center of the action and immerse them in the soundscape of your video.
- Optimize Performance for Editing: When working with 360-degree footage in Premiere Pro, optimize your system and editing workflow to ensure smooth performance and responsiveness. Use proxy files, lower resolution playback settings, and hardware acceleration features to improve editing efficiency and reduce rendering times.
- Test Across Different Playback Devices: Before finalizing your 360-degree video, test the footage across different playback devices, VR headsets, and platforms to ensure compatibility and optimal viewing experience. Consider the technical specifications and requirements of each playback device and adjust your export settings accordingly to maximize compatibility and performance.
- Seek Feedback and Iteration: Collaborate with colleagues, friends, or online communities to gather feedback and insights on your 360-degree video projects. Share your work-in-progress clips, seek constructive criticism, and iterate on your editing and storytelling techniques to continuously improve the quality and impact of your videos.
Conclusion: Creating 360-degree videos in Adobe Premiere Pro opens up a world of creative possibilities for filmmakers and content creators, allowing them to immerse viewers in captivating and interactive experiences. By following the steps outlined in this comprehensive guide and embracing best practices, you’ll be well-equipped to master the art of creating 360-degree videos in Premiere Pro. So, dive in, experiment fearlessly, and let your creativity soar as you explore the limitless potential of immersive storytelling in the spherical realm.


