Mastering the Cyberpunk Aesthetic: A Comprehensive Guide to Achieving the Cyberpunk Look with Lightroom or Photoshop’s Camera Raw Filter
Introduction:
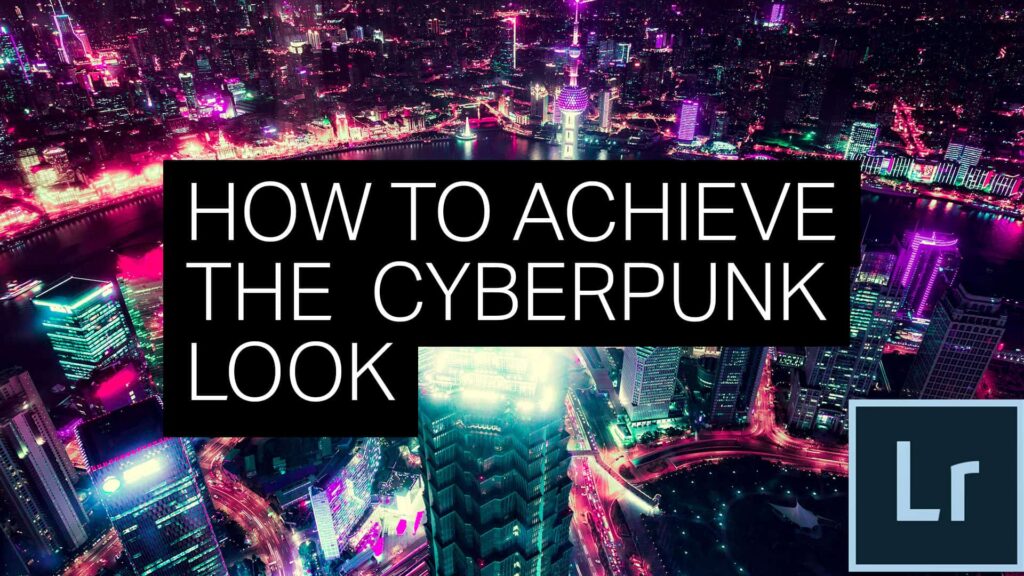
Immerse yourself in the electrifying world of Cyberpunk aesthetics as we unravel the secrets of achieving the Cyberpunk Look using the powerful tools of Adobe Lightroom or Photoshop’s Camera Raw Filter. This comprehensive tutorial is tailored for photographers and digital artists seeking to infuse their images with the futuristic and gritty vibe synonymous with the Cyberpunk genre. Join us on this journey as we explore the step-by-step process of transforming ordinary photographs into dynamic, neon-lit compositions that encapsulate the essence of the Cyberpunk universe.
I. Understanding the Cyberpunk Aesthetic:
Before delving into the tutorial, let’s establish a foundational understanding of the Cyberpunk aesthetic:
A. Futuristic Grit:
- Recognize Cyberpunk as a genre characterized by a fusion of futuristic elements and urban grit.
- Understand how this aesthetic blends advanced technology with a dystopian atmosphere.
B. Neon-Lit Environments:
- Appreciate the prominence of vibrant neon lights in Cyberpunk settings.
- Explore how the juxtaposition of darkness and vibrant colors contributes to the Cyberpunk Look.
C. High Contrast and Grunge:
- Acknowledge the importance of high contrast and grunge elements.
- Understand how these stylistic choices convey a sense of rawness and intensity.
II. Importing and Preparing Images:
Begin your journey to the Cyberpunk Look by selecting and preparing your images:
A. Choosing Appropriate Photographs:
- Select images with urban or futuristic settings that align with the Cyberpunk aesthetic.
- Ensure your image selection allows for versatile experimentation with Cyberpunk elements.
B. Importing into Adobe Lightroom or Photoshop:
- Launch Adobe Lightroom or Photoshop and import your selected images.
- Create a new catalog or open an existing one to initiate the process of transforming your images into Cyberpunk masterpieces.
III. Understanding Adobe Lightroom Develop Module or Photoshop Camera Raw Filter:
Before diving into the tutorial, familiarize yourself with essential tools, specifically those in the Adobe Lightroom Develop module or Photoshop Camera Raw Filter:
A. Temperature and Tint Adjustments:
- Learn how to manipulate temperature and tint settings to achieve the desired color tones.
- Understand the impact of these adjustments on creating a futuristic and stylized atmosphere.
B. Tone Curve for Contrast:
- Explore the Tone Curve panel to fine-tune contrast and luminosity.
- Adjust the curve to create a high-contrast look that enhances the Cyberpunk vibe.
C. HSL Adjustments for Color Grading:
- Master the HSL (Hue, Saturation, Luminance) panel to control specific color ranges.
- Experiment with color grading to infuse vibrant neon hues into your images.
D. Vignette and Grain Effects:
- Utilize vignette effects to draw focus and add a cinematic touch.
- Experiment with adding film grain for a gritty and textured appearance.
IV. Crafting the Cyberpunk Look:
Initiate the process of creating the Cyberpunk Look with these step-by-step instructions:
A. Temperature and Tint Adjustment:
- Manipulate temperature and tint settings to introduce a futuristic color palette.
- Emphasize cooler tones and experiment with tints to achieve a unique Cyberpunk atmosphere.
B. Contrast Boost with Tone Curve:
- Access the Tone Curve panel and create an S-curve for increased contrast.
- Fine-tune the curve to achieve a dynamic range that enhances the Cyberpunk aesthetic.
C. Color Grading with HSL Adjustments:
- Enter the HSL panel and intensify specific color ranges.
- Enhance neon colors such as blues, pinks, and purples to infuse the image with a Cyberpunk vibe.
D. Vignette and Grain Effects:
- Apply a subtle vignette effect to draw focus toward the center.
- Experiment with grain effects to add texture and grunge, enhancing the dystopian feel.
E. Split Toning for Tonal Harmony:
- Explore the Split Toning feature to harmonize tones within the image.
- Use split toning to blend highlights and shadows, contributing to a cohesive Cyberpunk Look.
F. Selective Adjustments with Radial Filters:
- Employ Radial Filters to selectively enhance certain areas.
- Use radial filters to spotlight key elements, creating focal points within the Cyberpunk composition.
V. Fine-Tuning and Iterative Refinement:
Refine your Cyberpunk Look through iterative adjustments and meticulous fine-tuning:
A. Reviewing the Entire Image:
- Zoom out to assess the overall impact of the Cyberpunk Look.
- Ensure a cohesive and harmonious appearance across the entire image.
B. Selective Adjustments with Brushes:
- Use adjustment brushes to fine-tune specific areas.
- Refine details, highlights, or shadows to enhance the overall Cyberpunk atmosphere.
C. Dynamic Adjustments Based on Content:
- Consider the content of each image when making dynamic adjustments.
- Tailor your Cyberpunk Look to complement the unique features of the scene or subject matter.
VI. Real-World Applications: Showcasing Cyberpunk Photography:
Share your Cyberpunk Look images with the world through various platforms and formats:
A. Online Galleries and Portfolios:
- Showcase your Cyberpunk photographs on online platforms like Behance or personal portfolios.
- Provide context and descriptions to enhance viewers’ understanding of your creative process.
B. Social Media Platforms:
- Share your Cyberpunk Look images on platforms like Instagram, Twitter, or Facebook.
- Engage with your audience, encouraging them to explore the futuristic and gritty world of Cyberpunk photography.
C. Printed Artwork:
- Consider printing your Cyberpunk Look images as posters or art prints.
- Explore opportunities to exhibit your work in physical galleries or themed art events.
VII. Tips for Cyberpunk Excellence:
Optimize your creative process with these practical tips for achieving excellence in the Cyberpunk Look:
A. Embrace Neon Elements:
- Incorporate vibrant neon elements to enhance the futuristic vibe.
- Experiment with glowing signs, light streaks, or reflections to intensify the Cyberpunk aesthetic.
B. Consistent Atmosphere:
- Maintain a consistent atmosphere across your Cyberpunk images.
- Establish a signature style that aligns with your personal or brand aesthetic.
C. Experimentation with Blending Modes:
- Experiment with different blending modes for adjustment layers.
- Discover unique interactions between layers to enhance the Cyberpunk Look.
D. Attention to Composition:
- Pay attention to composition elements that align with the Cyberpunk aesthetic.
- Incorporate urban landscapes, futuristic architecture, and dynamic angles to amplify the Cyberpunk vibe.
VIII. Conclusion:
Creating the Cyberpunk Look in Adobe Lightroom or Photoshop’s Camera Raw Filter is a journey into the realms of futuristic dystopia and visual storytelling. As you navigate the intricacies of temperature adjustments, tone curves, and selective coloring, remember that each adjustment contributes to the overall mood and atmosphere of your Cyberpunk composition. May your Cyberpunk photographs transport viewers into a world of neon-lit intrigue, technological marvels, and gritty urban landscapes. Embrace the versatility of this technique, celebrate the fusion of futuristic elements, and may your mastery of the Cyberpunk Look shine through in your creative endeavors. May your photographs inspire others to explore the captivating beauty of Cyberpunk aesthetics and embark on their own journeys of artistic expression through the dynamic lens of neon-lit futurism.
