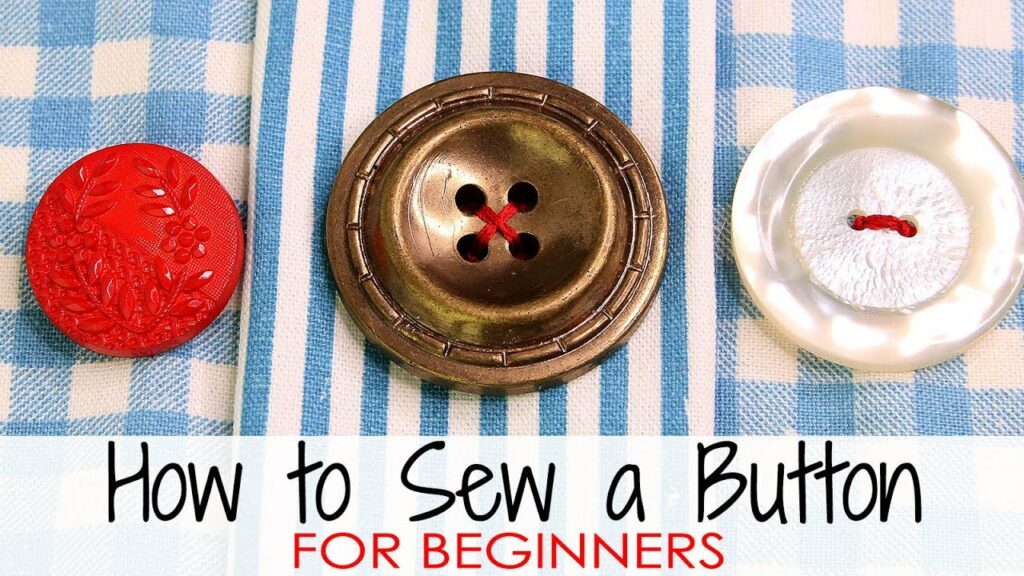
How to Sew a Button: A Comprehensive Guide
Knowing how to sew a button is a practical and valuable skill that can save you time and money. Whether you’re repairing a loose button on a shirt or replacing a missing button on a jacket, this comprehensive guide will walk you through the step-by-step process of sewing a button by hand.
Tools and Materials Needed
Before you begin, gather the following tools and materials:
- Needle: Choose a needle that is appropriate for the thread and the size of the button.
- Thread: Use thread that matches the color of the garment or the button.
- Buttons: Ensure you have a replacement button if the original button is missing or damaged.
- Scissors: Sharp scissors for cutting thread.
- Thimble (optional): Protect your fingers if sewing through thick fabric.
Step-by-Step Guide: How to Sew a Button
1. Prepare Your Materials
Gather your tools and materials: Lay them out on a flat surface where you can work comfortably.
2. Thread the Needle
Cut a length of thread: Approximately 18-24 inches (45-60 cm) long, depending on the number of buttons you plan to sew.
Thread the needle: Insert one end of the thread through the eye of the needle and pull it through until the ends are even. Tie a knot at the end of the thread.
3. Position the Button
Position the button: Place the button on the fabric where the buttonhole is located or where you want to attach the button.
4. Anchor the Thread
Anchor the thread: Insert the needle from the back of the fabric to the front, where the button will be placed. Pull the thread through until the knot catches on the back of the fabric.
5. Sewing the Button
Create the first stitch: Position the button on the fabric. Insert the needle from the back of the fabric to the front, passing through one of the holes on the button.
Secure the button: Pass the needle back through the opposite hole on the button and through the fabric. This forms the first stitch.
Repeat the process: Continue sewing through the holes of the button and the fabric. For a standard four-hole button, make a cross pattern by sewing through each pair of opposite holes at least three to four times.
6. Creating Shank (Optional)
Create a shank (if needed): For thicker buttons or to create space between the button and fabric, you can create a shank. After sewing through the holes of the button, pass the needle between the button and fabric without going through the button. Wrap the thread around the stitches underneath the button to create a shank. Secure the thread with a knot on the back of the fabric.
7. Finishing
Secure the thread: Once you’re satisfied with the button’s security, pass the needle to the back of the fabric and tie a knot with the thread. Trim any excess thread with scissors.
8. Checking
Test the button: Gently tug on the button to ensure it is securely attached and does not come loose.
Tips for Sewing Buttons
- Match the Thread: Use thread that matches the color of the fabric or the button for a seamless repair.
- Use a Thimble: Protect your fingers, especially when sewing through thick fabrics or multiple layers.
- Practice Patience: Take your time to ensure neat and even stitches for a professional finish.
- Check Button Placement: Before sewing, ensure the button is aligned correctly with the buttonhole or intended position.
Conclusion
Learning how to sew a button is a valuable skill that can extend the life of your clothing and save you money on repairs. With this comprehensive guide, you now have the knowledge to confidently sew buttons onto shirts, pants, jackets, and more. Whether you’re repairing a favorite garment or adding a decorative touch, mastering the art of sewing buttons by hand allows you to maintain and personalize your wardrobe with ease. Practice regularly to refine your technique, and enjoy the satisfaction of knowing you can handle basic clothing repairs effortlessly.


