Unveiling the Artistry: A Deep Dive into the Inverted Colors Photo Effect Using Photoshop
Introduction:
In the ever-evolving world of digital art and photography, there exists a myriad of techniques to transform ordinary images into extraordinary works of visual brilliance. One such technique that has stood the test of time is the inverted colors photo effect. In this extensive guide, we will explore the fascinating realm of inverted colors and unravel the secrets behind achieving this mesmerizing effect using the powerful tools of Adobe Photoshop.
Understanding the Inverted Colors Effect:
The inverted colors effect, also known as negative colors or inverse colors, is a captivating visual transformation that flips the color spectrum of an image, turning blacks into whites, blues into yellows, and reds into cyans. This technique not only provides a fresh perspective on familiar scenes but also lends a surreal and dreamlike quality to the photograph.
Step 1: Importing Your Image:
Begin your journey into the world of inverted colors by launching Adobe Photoshop and opening the image you wish to transform. Ensure that your image is in RGB mode for optimal results.
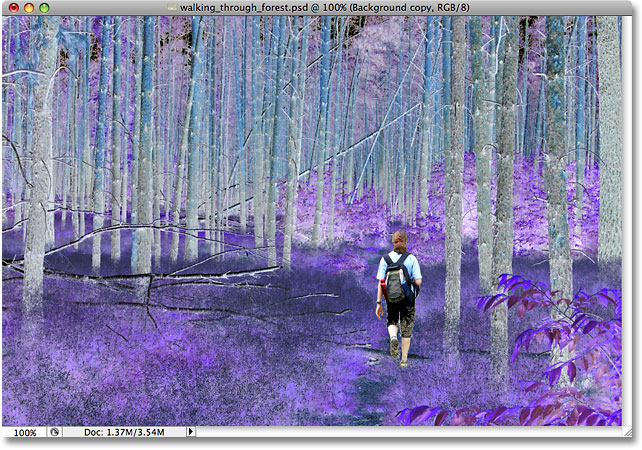
Step 2: Image Adjustment with Invert:
The core of the inverted colors effect lies in the “Invert” function. To apply this effect, go to Image > Adjustments > Invert. Instantaneously, your image will undergo a dramatic transformation as colors are reversed across the entire spectrum.
Step 3: Fine-Tuning with Adjustment Layers:
To add a layer of refinement to your inverted colors masterpiece, explore the world of Adjustment Layers. Experiment with tools such as Levels, Curves, and Hue/Saturation to control the contrast, brightness, and overall tonality of the inverted image. This step allows you to tailor the effect to suit your artistic vision.
Step 4: Playing with Blend Modes:
Venture into the realm of Blend Modes to further enhance the impact of your inverted colors creation. Experiment with different blend modes, such as Overlay, Soft Light, or Color, to add depth and complexity to the image. Each blend mode imparts a unique character to the inverted colors, giving you the freedom to craft a truly personalized visual experience.
Step 5: Unleashing Creativity with Filters:
Take your inverted colors image to the next level by exploring Photoshop’s extensive array of filters. Experiment with artistic filters like Posterize or Cutout to introduce abstraction and stylization. These filters can contribute to the overall aesthetic, making your inverted colors photo a one-of-a-kind masterpiece.
Step 6: Grayscale Conversion for Artistic Flair:
For an additional layer of creativity, consider converting your inverted colors image to grayscale. This step allows you to focus on the interplay of tones and textures, creating a striking visual impact that transcends the boundaries of traditional color photography.
Conclusion:
The inverted colors photo effect in Photoshop is a captivating journey into the world of artistic expression. By embracing the transformative power of inversion, photographers and digital artists can breathe new life into their images, unlocking a realm of possibilities that transcend the ordinary. So, immerse yourself in the creative process, experiment with the myriad tools at your disposal, and witness the magic unfold as you master the art of inverted colors in Photoshop.