Mastering the Art of Tangible Presentation: A Comprehensive Guide on How to Print a PowerPoint Presentation
Introduction:
While digital presentations have become the norm, there are instances where a physical copy is essential. Printing a PowerPoint presentation not only facilitates distribution but also provides a tangible reference for both presenters and audiences. In this comprehensive guide, we will navigate through the step-by-step process of printing a PowerPoint presentation, ensuring that your hard copies mirror the quality and clarity of the digital version.
Section 1: Preparing Your PowerPoint Presentation for Printing
- Check Slide Layouts:
- Ensure that your slides are designed for optimal printing. Choose a layout that suits the intended purpose, such as landscape or portrait orientation.
- Resolution and Image Quality:
- Confirm that all images and graphics maintain high resolution. This ensures that the printed version retains visual clarity and detail.
- Consistent Fonts and Colors:
- Maintain font consistency throughout your presentation. Choose readable fonts and ensure that colors used for text and backgrounds translate well in print.
- Slide Size:
- Verify that the slide size is suitable for printing. Common sizes include standard letter (8.5 x 11 inches) or A4 (210 x 297 mm). Adjust as needed to match your printing preferences.
Section 2: Print Options in PowerPoint
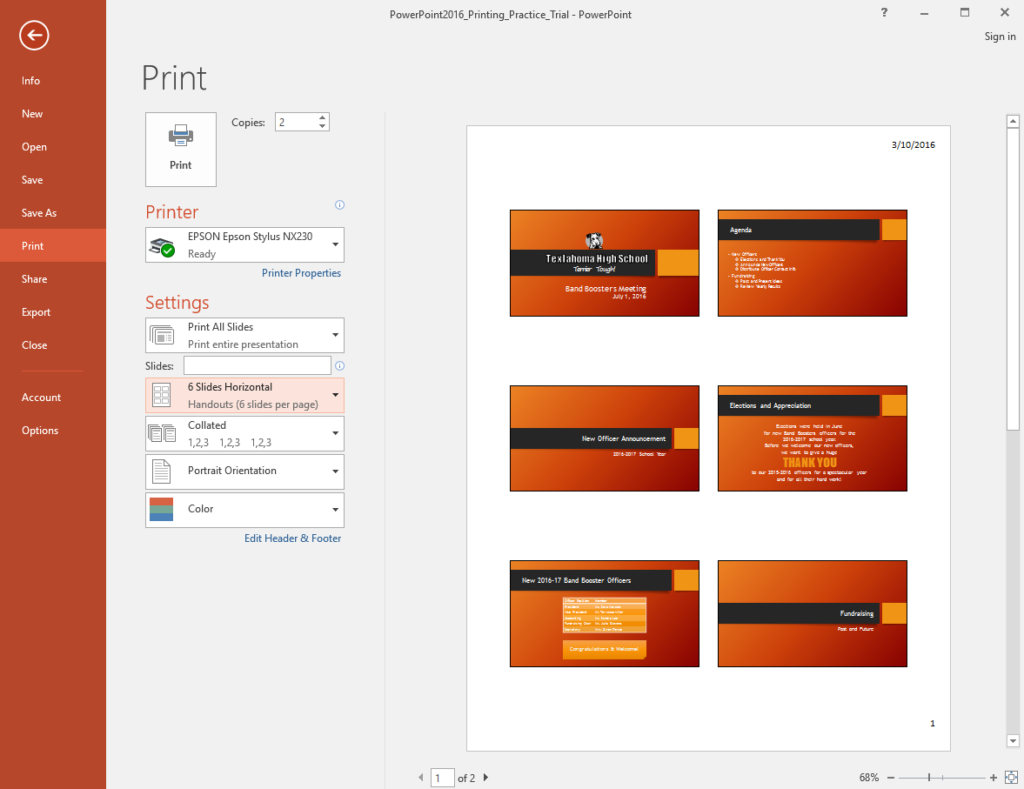
- Accessing Print Settings:
- Navigate to the ‘File’ tab, select ‘Print,’ and explore the available print settings. Familiarize yourself with the options for customizing the print job according to your requirements.
- Print Layouts:
- Choose between ‘Full Page Slides,’ ‘Notes Pages,’ ‘Handouts,’ or ‘Outline View’ based on your printing needs. Each layout caters to different preferences, allowing you to optimize space and information.
Section 3: Printing Slides, Handouts, and Notes Pages
- Printing Slides:
- Understand the process of printing individual slides. Adjust settings to print one slide per page or multiple slides on a single page for reference.
- Handouts and Notes Pages:
- Explore the options for printing handouts and notes pages. Customize the layout to include speaker notes, slide thumbnails, or additional information alongside each slide.
Section 4: Customizing Print Settings
- Print Range:
- Specify the range of slides you want to print. This feature is useful when printing specific sections of a presentation.
- Color or Grayscale:
- Decide whether to print in color or grayscale based on your preferences and the availability of color printing resources.
- Print Quality:
- Adjust print quality settings to balance the clarity of images with the consumption of ink or toner. Higher quality settings result in crisper images but may use more resources.
- Page Orientation:
- Select between portrait and landscape orientation to match your slide layout. Ensure that the orientation aligns with your design preferences.
Section 5: Proofing and Adjustments
- Print Preview:
- Utilize the print preview feature to review how your slides will appear on paper. This allows you to catch any potential issues before committing to the print job.
- Adjusting Page Setup:
- Make necessary adjustments to page setup, margins, and headers/footers to optimize the appearance of your printed slides.
Section 6: Handling Speaker Notes and Comments
- Including Speaker Notes:
- Learn how to print slides with accompanying speaker notes. This is beneficial for presentations where additional context or information is provided verbally.
- Printing Comments:
- Explore options for printing comments made during the presentation creation process. This feature aids collaboration and communication among contributors.
Section 7: Double-Sided Printing and Duplex Options
- Activating Duplex Printing:
- If your printer supports double-sided printing (duplex), enable this feature in the print settings to conserve paper and create more compact handouts.
- Manual Duplex Printing:
- Understand the process of manually printing double-sided pages for printers without automatic duplex capabilities. This ensures proper page alignment.
Section 8: Troubleshooting Printing Issues
- Print Quality Issues:
- Troubleshoot common print quality problems such as blurry images, faded text, or uneven color distribution. Adjust settings or replace ink/toner cartridges as needed.
- Print Alignment Problems:
- Address issues related to print alignment, ensuring that slides are centered on the page and that margins are consistent.
Section 9: Printing Large Presentations and Multiple Copies
- Printing Large Presentations:
- Manage the printing process for extensive presentations. Optimize settings to avoid overwhelming print queues and to maintain the quality of each slide.
- Batch Printing:
- Explore methods for efficiently printing multiple copies of a presentation. This is especially useful for workshops, seminars, or distribution to larger audiences.
Section 10: Conclusion and Post-Printing Considerations
- Post-Printing Review:
- Inspect the printed copies for accuracy, clarity, and alignment. Address any issues discovered during the review process.
- Storage and Distribution:
- Consider appropriate storage options for printed presentations, whether in binders, folders, or other protective materials. Plan for efficient distribution to your intended audience.
- Feedback and Iterative Improvement:
- Encourage feedback from both presenters and audience members who received the printed copies. Use this input to iteratively improve your printing process for future presentations.
Section 11: Sustainability and Green Printing Practices
- Environmentally Friendly Printing:
- Explore practices for environmentally conscious printing, such as using recycled paper, minimizing ink or toner usage, and promoting digital distribution when possible.
- Digital Alternatives:
- Consider alternatives to traditional printing, such as sharing digital copies through email, cloud storage, or online platforms. Embrace a paperless approach when appropriate.
Section 12: Future Trends in Presentation Printing
- Advancements in Printing Technology:
- Stay informed about emerging trends in printing technology that may impact the way presentations are printed and distributed in the future.
- Integration with Online Platforms:
- Explore possibilities for seamless integration between online presentation platforms and physical printing. Future developments may enhance the synergy between digital and print formats.
Section 13: Additional Resources and References
- Online Tutorials and Guides:
- Discover online tutorials, video guides, and additional resources that provide further insights into printing PowerPoint presentations. Stay informed and continuously enhance your printing skills.
- Microsoft Support and Community Forums:
- Access Microsoft’s official support resources and community forums for additional assistance with any specific printing issues or inquiries.
Section 14: Conclusion
Congratulations! You’ve successfully navigated the comprehensive guide on how to print a PowerPoint presentation. Whether you’re preparing for a business meeting, academic presentation, or any scenario that requires physical copies, this guide equips you with the knowledge to create professional, high-quality prints from your digital slides. As you embark on your printing journey, may your presentations come to life on paper, leaving a lasting impression on your audience. Happy printing!