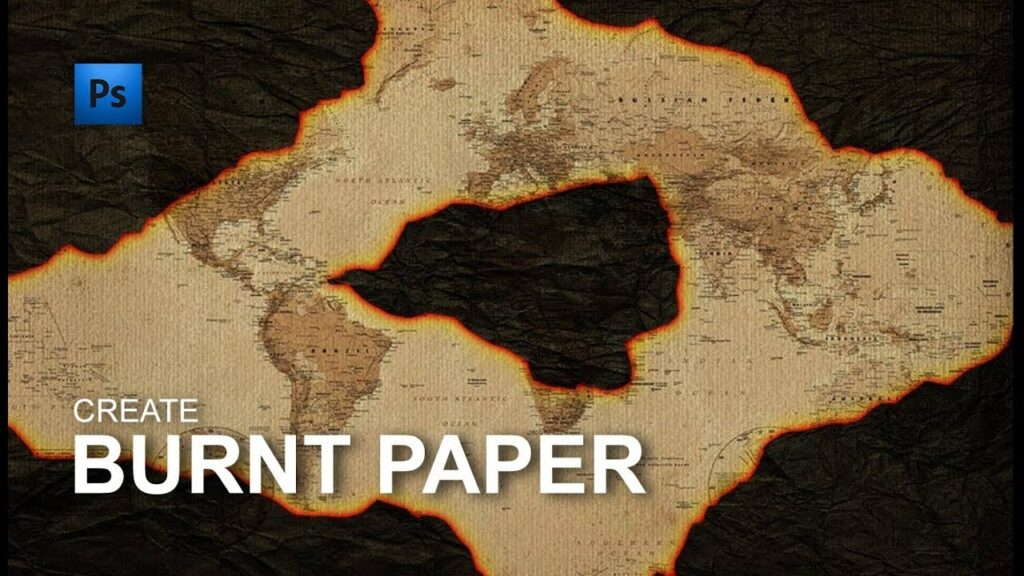
Mastering the Art of Char: A Comprehensive Guide to Creating a Burnt Edge Effect in Photoshop
Introduction:
The burnt edge effect, an artistic technique that emulates the appearance of scorched or singed edges in photographs, adds a touch of drama, vintage charm, or surrealism to images. In this extensive guide, we’ll embark on a journey through the creative process of achieving a burnt edge effect using the versatile tools and features of Adobe Photoshop.
Understanding the Burnt Edge Aesthetic:
The burnt edge effect harkens back to the days of aged photographs or antique prints, where the passage of time had left its mark in the form of slightly charred or faded edges. This aesthetic choice can evoke a sense of nostalgia, mystery, or even create a visual narrative that goes beyond the ordinary.
Step 1: Selecting the Appropriate Image:
To commence the creation of a burnt edge effect, choose an image that aligns with the desired mood and theme. Vintage or sepia-toned photographs work particularly well, but the burnt edge effect can also enhance the drama in contemporary or high-contrast images.
Step 2: Duplicate the Image Layer:
Begin by duplicating the original image layer. This duplicated layer will serve as the foundation for applying the burnt edge effect, ensuring that the original image remains intact.
Step 3: Expanding Canvas Size:
To create space for the burnt edges, expand the canvas size of the duplicated layer. Navigate to Image > Canvas Size and increase the dimensions, making sure to anchor the existing image in the center. This step provides room for the burnt effect without encroaching on the main subject.
Step 4: Adding a Solid Color Layer:
Create a new layer beneath the duplicated image layer and fill it with a solid color of your choice. Common choices include black, dark brown, or sepia tones, depending on the desired intensity of the burnt effect.
Step 5: Applying a Layer Mask:
Add a layer mask to the duplicated image layer. Using a soft brush, mask out portions of the image to reveal the solid color layer beneath, simulating the burnt or charred edges. Experiment with the brush opacity and hardness to achieve a realistic transition between the burnt and unburnt areas.
Step 6: Adding Gradients for Realism:
To enhance the authenticity of the burnt edge effect, incorporate gradients along the edges. Use the Gradient tool to create subtle transitions between the charred edges and the unburnt areas, mimicking the gradual decay that might occur over time.
Step 7: Introducing Texture Overlays:
To elevate the burnt edge effect further, consider adding texture overlays. Vintage paper textures or subtle grunge overlays can impart a weathered and aged appearance, complementing the overall aesthetic. Experiment with blending modes and opacity settings to seamlessly integrate the texture into the image.
Step 8: Adjusting Color and Tone:
Fine-tune the overall color and tone of the burnt edge effect to achieve the desired atmosphere. Adjustments such as Levels, Curves, or Color Balance can help harmonize the burnt edges with the rest of the image, ensuring a cohesive and visually appealing result.
Step 9: Adding Charred Details:
For a more intricate burnt edge effect, incorporate charred details using brushes or custom shapes. Create burnt spots, smudges, or irregularities along the edges to simulate the randomness of natural charring. This step adds an extra layer of realism and visual interest to the overall effect.
Step 10: Final Touches and Review:
Complete your burnt edge masterpiece by reviewing the entire composition. Make any necessary adjustments, paying attention to the overall balance, cohesion, and storytelling impact of the effect. Consider subtle vignettes, additional texture overlays, or even color grading to enhance the overall visual narrative.
Conclusion:
Creating a burnt edge effect in Photoshop is a captivating journey into the realm of artistic expression. Whether you’re aiming for a vintage look, a touch of drama, or a surreal and dreamlike atmosphere, the burnt edge effect allows you to infuse your images with character and storytelling depth.