Mastering Precision: A Comprehensive Guide to Creating a Coke Bottle in AutoCAD
Introduction:
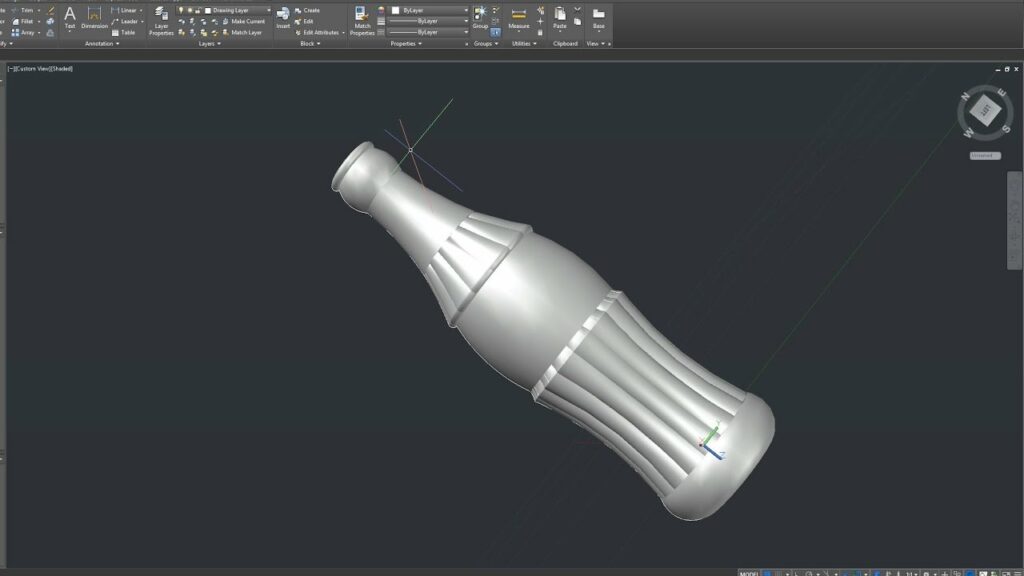
AutoCAD, a leading computer-aided design (CAD) software, empowers designers and engineers to bring their ideas to life with precision and accuracy. In this comprehensive guide, we will embark on a journey to create a detailed 3D model of a classic Coke bottle using AutoCAD. From understanding the basic tools to mastering advanced techniques, this tutorial will provide step-by-step instructions for creating a realistic and visually appealing representation of this iconic object.
Section 1: Getting Started with AutoCAD
Subsection 1.1: Introduction to AutoCAD Interface
Familiarize yourself with the AutoCAD interface, including the workspace, ribbon, command line, and toolbars. Understanding the layout and navigation will set the foundation for creating our Coke bottle.
Subsection 1.2: Basic Drawing Tools
Explore essential drawing tools such as lines, circles, and rectangles. Learn how to use the snap and grid settings to ensure precision in your drawings. Practice creating simple shapes to build confidence in your drafting skills.
Section 2: Planning the Coke Bottle Design
Subsection 2.1: Reference Images
Gather reference images of a Coke bottle from different angles. Import these images into AutoCAD to serve as guides for the design process. Learn how to scale and position reference images accurately.
Subsection 2.2: Sketching the Initial Outline
Utilize the line and arc tools to sketch the initial outline of the Coke bottle. Focus on capturing the distinctive shape, curves, and proportions. Begin with a 2D representation to establish the foundation.
Section 3: Moving to 3D Modeling
Subsection 3.1: Extrusion
Elevate your 2D outline into a 3D model using the extrusion tool. Learn how to extrude the 2D shape to give it depth, forming the basic structure of the Coke bottle.
Subsection 3.2: Adding Details with Revolve
Use the revolve tool to add details such as the bottle’s neck and base. Understand how to revolve a 2D profile around an axis, creating a seamless and realistic 3D shape.
Section 4: Fine-Tuning the Model
Subsection 4.1: Fillet and Chamfer
Refine the edges of the Coke bottle using the fillet and chamfer commands. Explore how these tools add smoothness and dimensionality to the model.
Subsection 4.2: Adding Label Indentations
Integrate the Coke brand label indentations into the bottle’s design. Utilize the subtract command to create depressions that simulate the appearance of a real-life label.
Section 5: Materials and Textures
Subsection 5.1: Applying Materials
Enhance the realism of your Coke bottle by applying materials. Learn how to assign glass-like materials to the bottle, creating reflections and transparency.
Subsection 5.2: Adding Textures
Incorporate texture mapping to simulate the iconic red label and cap of a Coke bottle. Understand how to import and apply textures accurately to achieve a lifelike appearance.
Section 6: Lighting and Rendering
Subsection 6.1: Setting up Lights
Master the art of lighting in AutoCAD to showcase your Coke bottle effectively. Experiment with different light sources and positions to highlight the bottle’s features.
Subsection 6.2: Rendering the Model
Explore the rendering capabilities of AutoCAD to generate realistic images of your Coke bottle. Understand how to adjust settings for shadows, reflections, and background to achieve a polished final render.
Section 7: Advanced Techniques
Subsection 7.1: Lofting for Custom Shapes
Dive into advanced techniques such as lofting to create custom shapes and variations of the Coke bottle. Learn how to use lofting to experiment with different designs.
Subsection 7.2: Array and Mirror Commands
Explore the array and mirror commands to efficiently duplicate and mirror components of the Coke bottle. Understand how these commands enhance productivity in complex modeling scenarios.
Section 8: Animating the Coke Bottle
Subsection 8.1: Basic Animation Principles
Delve into the basics of animation in AutoCAD. Learn how to set keyframes, manipulate object properties over time, and create a simple animation showcasing the rotation of your Coke bottle.
Subsection 8.2: Exploring AutoCAD Animation Features
Discover advanced animation features within AutoCAD. Experiment with camera paths, lighting changes, and material transitions to create captivating and dynamic animations.
Section 9: Troubleshooting and Tips
Subsection 9.1: Common Issues and Solutions
Address common challenges that may arise during the modeling process. From intersecting geometry to unexpected results, learn how to troubleshoot and refine your Coke bottle model.
Subsection 9.2: Keyboard Shortcuts and Efficiency Tips
Maximize your efficiency by mastering essential keyboard shortcuts and tips. Discover time-saving techniques that streamline your workflow and make you a more proficient AutoCAD user.
Section 10: Showcasing Your Coke Bottle Design
Subsection 10.1: Creating Presentation Layouts
Learn how to create professional presentation layouts within AutoCAD. Showcase your Coke bottle design from multiple perspectives, including detailed views and rendered images.
Subsection 10.2: Exporting and Sharing
Explore the various export options in AutoCAD to share your Coke bottle design with others. From high-resolution images to 3D model files, understand how to effectively communicate and present your work.
Conclusion:
Congratulations! You have successfully navigated the process of creating a detailed and realistic Coke bottle in AutoCAD. From mastering basic drawing tools to exploring advanced techniques and animation, this comprehensive guide has equipped you with the skills needed to bring your design ideas to life. Whether you’re a beginner or an experienced AutoCAD user, may your future projects be filled with precision, creativity, and a touch of iconic design. Cheers to your continued success in the world of 3D modeling!