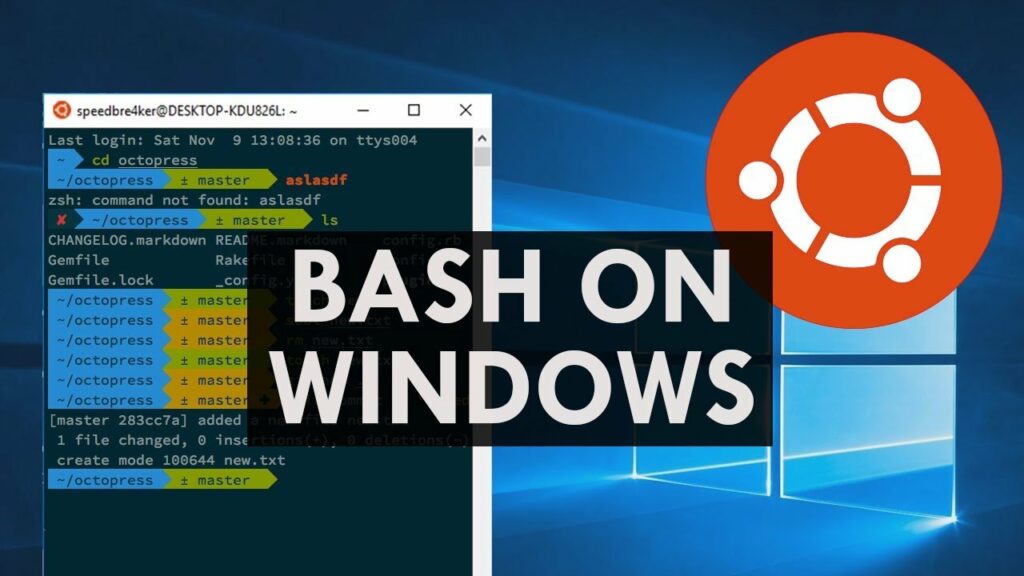
Bridging Worlds: A Comprehensive Guide on Installing and Utilizing Bash Shell in Windows 10

Introduction
In the evolving landscape of technology, the integration of different operating systems has become increasingly prevalent. Windows 10 users seeking a more versatile and developer-friendly environment can leverage the Bash shell, traditionally associated with Unix-like systems, to enhance their computing experience. This comprehensive guide will explore the significance of introducing Bash to Windows 10, delve into the mechanics of installation, and provide a detailed tutorial on how to set up and utilize the Bash shell for seamless cross-platform development and scripting.
Understanding the Significance of Adding Bash to Windows 10
The integration of the Bash shell into Windows 10 offers users a multitude of advantages, catering to the diverse needs of developers, system administrators, and enthusiasts. Key aspects that highlight the significance of this feature include:
- Cross-Platform Development: Bash provides a familiar environment for developers accustomed to Unix-like systems. With Bash on Windows 10, users can seamlessly transition between different platforms, fostering a unified development experience.
- Scripting and Automation: Bash is renowned for its powerful scripting capabilities. Introducing Bash to Windows 10 allows users to harness the efficiency of Bash scripts for automating tasks, simplifying complex processes, and improving overall productivity.
- Linux Tool Availability: Many Linux command-line tools and utilities are readily available in Bash, enabling users to access a rich ecosystem of software for development, system administration, and other tasks without leaving the Windows environment.
- Educational and Learning Opportunities: Students, professionals, and enthusiasts can benefit from familiarizing themselves with Bash, a widely used and versatile shell. Integrating Bash into Windows 10 offers an educational gateway to understanding command-line interfaces and Unix-like systems.
Now, let’s delve into the detailed tutorial on how to install and utilize the Bash shell in Windows 10, exploring the various steps involved in setting up this powerful tool.
Step-by-Step Guide: Installing and Utilizing Bash Shell in Windows 10
Method 1: Enabling Windows Subsystem for Linux (WSL)
- Open PowerShell as Administrator:
- Right-click on the Start button and select “Windows PowerShell (Admin)” to open PowerShell with administrative privileges.
- Enable WSL Feature:
- Run the following command to enable the Windows Subsystem for Linux feature:powershell
dism.exe /online /enable-feature /featurename:Microsoft-Windows-Subsystem-Linux /all /norestart
- Run the following command to enable the Windows Subsystem for Linux feature:
- Enable Virtual Machine Platform Feature (Optional):
- If you plan to use WSL 2, which offers enhanced performance, enable the Virtual Machine Platform feature with the following command:powershell
dism.exe /online /enable-feature /featurename:VirtualMachinePlatform /all /norestart
- If you plan to use WSL 2, which offers enhanced performance, enable the Virtual Machine Platform feature with the following command:
- Restart Your Computer:
- Restart your computer to apply the changes.
- Install a Linux Distribution:
- Open the Microsoft Store, search for your preferred Linux distribution (e.g., Ubuntu, Debian, or Fedora), and click “Install.” Follow the installation prompts.
- Set Up Your Linux Username and Password:
- Once installed, launch the Linux distribution from the Start menu. Follow the on-screen instructions to set up a new Linux user account and password.
Method 2: Upgrade to WSL 2 (Optional but Recommended)
- Open PowerShell as Administrator:
- Open PowerShell with administrative privileges as explained in step 1.
- Set WSL Version to 2:
- Run the following command to set WSL to use version 2:powershell
wsl --set-version <DistributionName> 2
Replace
<DistributionName>with the name of your installed Linux distribution.
- Run the following command to set WSL to use version 2:
- Set WSL Default Version:
- Run the following command to set WSL 2 as the default version for any new Linux distributions:powershell
wsl --set-default-version 2
- Run the following command to set WSL 2 as the default version for any new Linux distributions:
Method 3: Installing Windows Terminal (Optional but Recommended)
- Install Windows Terminal:
- Open the Microsoft Store, search for “Windows Terminal,” and click “Install.” Windows Terminal provides a modern, customizable, and feature-rich terminal experience.
- Launch Windows Terminal:
- Open Windows Terminal from the Start menu. You can now access multiple command-line interfaces, including Bash, within a single terminal window.
Method 4: Update and Upgrade Packages (Optional but Recommended)
- Update Package Lists:
- Open your installed Linux distribution (e.g., Ubuntu) from the Start menu or Windows Terminal. Run the following commands to update the package lists:bash
sudo apt update
- Open your installed Linux distribution (e.g., Ubuntu) from the Start menu or Windows Terminal. Run the following commands to update the package lists:
- Upgrade Installed Packages:
- Upgrade the installed packages to their latest versions with the following command:bash
sudo apt upgrade
- Upgrade the installed packages to their latest versions with the following command:
Advanced Features and Tips:
1. Customizing the Terminal:
- Explore the settings and customization options within Windows Terminal to tailor the appearance and behavior of your terminal environment.
2. Accessing Windows File System:
- Your Windows file system is accessible within the Linux environment. Navigate to
/mnt/followed by the drive letter (e.g.,/mnt/c/) to access your Windows files.
3. Using WSL Integrated Tools:
- Take advantage of integrated tools like
wsl.exeto run commands directly from the Windows command prompt or PowerShell.
4. Managing Linux Services:
- Start, stop, and manage Linux services using commands like
sudo service <service-name> start/stop/restart.
5. Interacting with Windows Applications:
- Launch Windows applications from the Linux terminal using commands like
notepadorexplorer.exe.
6. Installing Additional Linux Software:
- Use package managers like
aptto install additional Linux software and utilities, expanding the capabilities of your Bash environment.
Real-World Applications and Benefits:
- Unified Development Environment:
- Developers can seamlessly switch between Windows and Linux environments for consistent development workflows, utilizing tools and scripts familiar to Unix-like systems.
- Scripting and Automation:
- Leverage the powerful scripting capabilities of Bash for automating repetitive tasks, managing configurations, and enhancing overall system administration.
- Testing and Debugging:
- Use the Bash shell to test and debug cross-platform scripts and applications without the need for a dedicated Linux machine.
- Educational and Learning Opportunities:
- Students and professionals can enhance their understanding of command-line interfaces and Unix-like systems by incorporating Bash into their Windows 10 environment.
- Collaboration Across Platforms:
- Collaborate with colleagues or contributors using different operating systems by ensuring compatibility and consistency through a shared Bash environment.
Future Developments and Updates:
As Windows 10 evolves, Microsoft may introduce updates and enhancements to the Windows Subsystem for Linux, further refining the integration of Bash and improving performance. Stay informed about system updates to benefit from the latest advancements in cross-platform development.
Conclusion:
The integration of Bash into Windows 10 exemplifies Microsoft’s commitment to providing users with a versatile and developer-friendly computing experience. By following the comprehensive guide and exploring the tips and advanced features outlined in this overview, users can seamlessly integrate Bash into their Windows environment, opening doors to cross-platform development, scripting, and automation. As technology continues to advance, the coexistence of different operating systems within a single ecosystem reflects the evolving landscape of user-centric computing. Embrace the power of Bash on Windows 10, and let it become an integral component of your versatile and unified computing environment.


