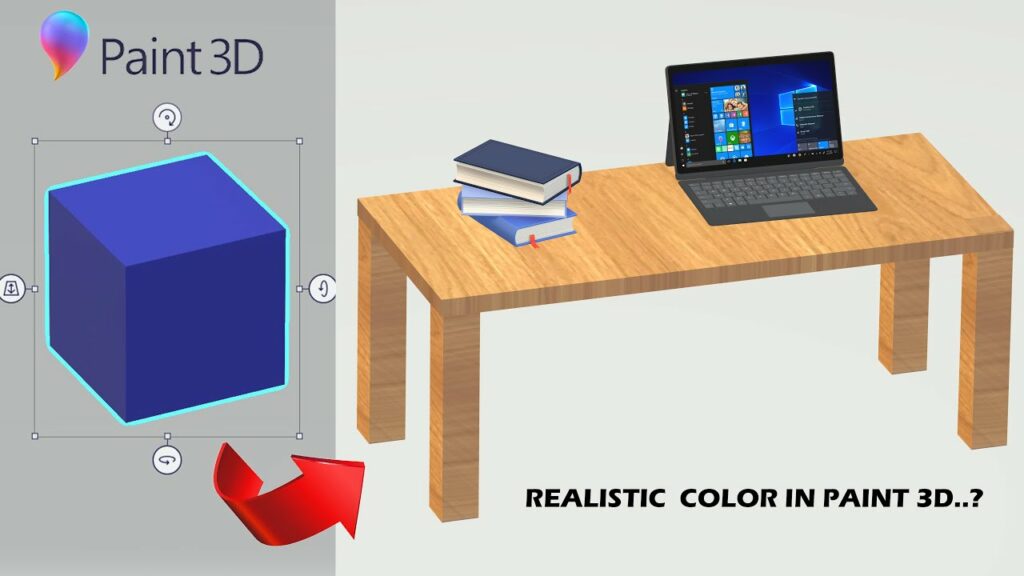
Mastering Realism: A Comprehensive Guide to Adding Realistic Textures in Paint 3D on Windows 10

Introduction:
Paint 3D on Windows 10 is not just a canvas; it’s a realm of creative possibilities where users can breathe life into their artistic visions. In this extensive guide, we embark on a journey into the heart of realism, exploring the myriad ways to add lifelike textures to your creations within Paint 3D. From the basics of texture application to advanced techniques that mimic the subtleties of real-world materials, this guide serves as a comprehensive resource for artists, designers, and enthusiasts eager to infuse their digital artworks with a touch of authenticity.
Understanding the Importance of Realistic Textures:
The integration of realistic textures is a transformative step in elevating digital art. Textures add depth, character, and a sense of tangibility to your creations, bridging the gap between the virtual and the physical. Whether you’re crafting 3D models, digital paintings, or immersive scenes, the mastery of realistic textures in Paint 3D opens a gateway to unparalleled visual richness.
1. Navigating the Texture Landscape in Paint 3D:
Before diving into the intricacies of texture application, let’s explore the foundational elements within Paint 3D:
- Surface Tools:
- Familiarize yourself with the surface tools available in the top toolbar. These tools include brushes, fill options, and stickers, each playing a crucial role in texture application.
- Stickers and Textures Menu:
- The stickers menu is a treasure trove of pre-made textures and decals that can be seamlessly applied to your 3D models or 2D canvases. These serve as an excellent starting point for texture exploration.
- Brush Styles:
- Experiment with various brush styles, sizes, and opacities to understand their impact on texture application. Each brush style contributes to the overall texture and visual appeal of your creation.
2. Applying Basic Textures with Stickers:
For beginners, stickers offer a straightforward way to add basic textures to your creations:
- Access the Stickers Menu:
- Open the stickers menu from the right sidebar.
- Select a Texture:
- Browse through the available stickers and select a texture that suits your project. Textures range from wood grain and metal to fabrics and patterns.
- Adjust Size and Placement:
- Resize and reposition the selected sticker to cover the desired area on your 3D model or 2D canvas.
- Experiment with Blending:
- Utilize the blending options to seamlessly integrate the sticker into your creation. Adjust transparency and rotation to achieve a natural, blended effect.
3. Advanced Texture Techniques with Brushes:
For those seeking more nuanced textures, brushes provide a versatile set of tools:
- Select a Suitable Brush:
- Choose a brush that aligns with the texture you want to achieve. Brushes like the sponge, sponge dab, or chalk can mimic textures like stone, fabric, or paper.
- Adjust Brush Settings:
- Fine-tune brush settings, including size, opacity, and hardness, to control the intensity and subtleties of the texture.
- Apply with Precision:
- Use the chosen brush to paint directly onto your 3D model or 2D canvas. This method allows for precise control over the placement and distribution of the texture.
- Layering Textures:
- Experiment with layering multiple textures to create complex and rich surfaces. Adjust the layer order and blending options for optimal results.
4. Creating Custom Textures:
For artists seeking a truly unique touch, custom textures can be crafted within Paint 3D:
- Use the Doodle Tool:
- Employ the doodle tool to draw intricate patterns or textures directly onto your canvas. This method is ideal for creating custom details on specific areas of your creation.
- Import Texture Images:
- Import external texture images into Paint 3D and apply them to your models or canvases. This opens up endless possibilities for utilizing real-world textures in your digital artworks.
5. Incorporating 3D Model Textures:
For users working specifically with 3D models, understanding how to apply textures to these objects is crucial:
- Select the 3D Model:
- Open the 3D model you wish to texture within Paint 3D.
- Access the Brushes or Stickers:
- Choose either the brushes or stickers menu to apply textures to the surfaces of your 3D model.
- Adjust Placement and Mapping:
- Use the 3D model tools to adjust the placement and mapping of textures on your model. This ensures that the textures conform realistically to the model’s geometry.
- Fine-Tune in 3D View:
- Utilize the 3D view to assess how the textures interact with light and shadows on your model. Fine-tune as needed for optimal realism.
6. Exporting and Sharing Textured Creations:
Once your textured masterpiece is complete, follow these steps to save or share your creation:
- Save Your Project:
- Click on the disk icon or navigate to “File” and choose “Save” to preserve your project as a Paint 3D project file (.3mf).
- Export as Image:
- To share your creation or use it in other applications, export it as an image by going to “File,” selecting “Export,” and choosing your preferred image format.
Conclusion: Texture Mastery in the Digital Realm:
In conclusion, the mastery of realistic textures in Paint 3D on Windows 10 opens a gateway to a realm of unparalleled creativity. Whether you’re enhancing 3D models, creating immersive scenes, or adding depth to digital paintings, the diverse tools within Paint 3D empower users to infuse their creations with authenticity. By navigating the interface, experimenting with stickers, brushes, and custom textures, artists can elevate their digital artworks to new heights of realism. As you embark on your journey within the textured landscapes of Paint 3D, the canvas becomes not just a space for creation, but a testament to the fusion of imagination and technology in the digital age.


