How to format a hard drive
Understanding Hard Drive Formatting
Formatting a hard drive refers to the process of preparing a storage device for use by initializing its file system. This process erases all existing data on the drive, making it essential to back up any important files before proceeding. There are different types of formatting, including quick format and full format, each serving specific purposes:
- Quick Format: This option removes files from the drive quickly by deleting references to the files without overwriting the actual data. It’s suitable when preparing a drive for immediate use or when reinstalling Windows.
- Full Format: Also known as a complete format, this option performs a thorough scan of the drive, checks for bad sectors, and erases all data by overwriting it with zeros. It’s recommended for ensuring data security and when encountering disk errors.
Before You Begin
- Back Up Important Data:
- Before formatting a hard drive, back up any essential files to an external storage device or cloud service. Formatting erases all data on the drive, and recovery after formatting is generally not possible.
- Disconnect External Drives:
- If formatting the primary drive (typically the C: drive), disconnect any external drives to avoid accidental data loss.
- Check Disk Health:
- Ensure the hard drive is in good condition and free of errors. Use Windows Disk Management or a third-party disk utility to check for bad sectors or disk errors.
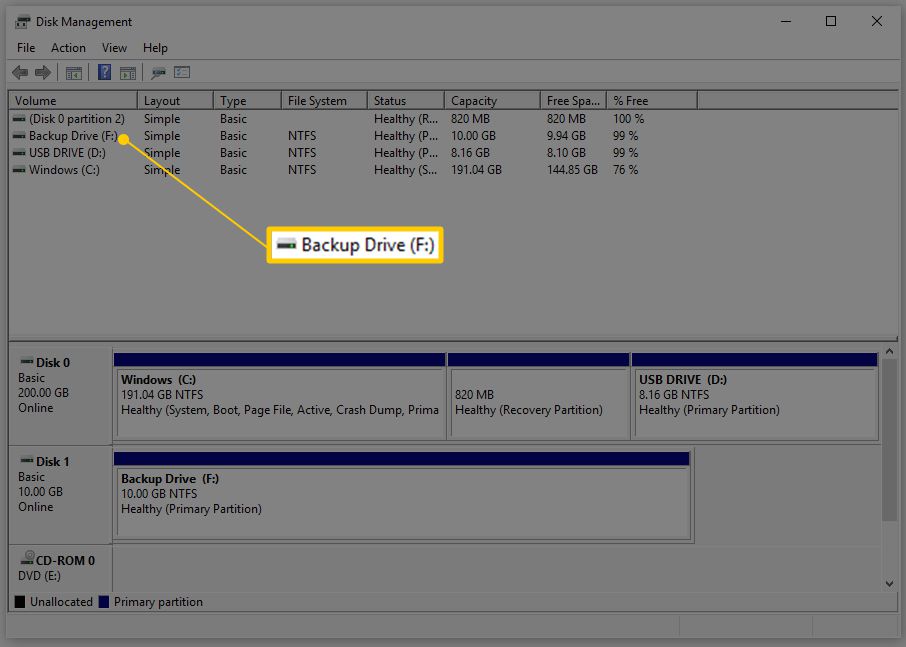
Formatting Using Windows Disk Management
- Access Disk Management:
- Right-click on the Start menu (Windows icon) and select “Disk Management” from the context menu.
- Alternatively, press Win + X and choose “Disk Management” from the Power User menu.
- Locate the Drive to Format:
- In Disk Management, locate the drive you want to format from the list of available disks. Be careful to select the correct drive to avoid formatting the wrong one.
- Backup Data (if needed):
- If there are any files you want to keep, copy them to another drive or cloud storage. Formatting erases all data on the selected drive.
- Initiate the Format:
- Right-click on the drive you want to format and select “Format…” from the context menu.
- In the Format dialog box, choose the desired file system (usually NTFS for Windows) and allocation unit size.
- Optionally, provide a volume label for the drive to identify it easily.
- Choose Quick Format (optional):
- By default, the “Quick Format” option is selected, which is faster but does not scan for bad sectors. If you prefer a full format, uncheck the “Perform a quick format” option.
- Start the Format:
- Click on “OK” to confirm your selections and start the formatting process.
- A warning message will appear, informing you that all data on the drive will be erased. Click on “OK” to proceed.
- Formatting Progress:
- Windows will begin formatting the drive. The time it takes depends on the size of the drive and the chosen format option (quick or full).
- Once formatting is complete, Disk Management will indicate that the drive is now formatted and ready for use.
Formatting Using Command Prompt
- Open Command Prompt as Administrator:
- Press Win + X and select “Command Prompt (Admin)” or “Windows PowerShell (Admin)” from the Power User menu.
- List Drives:
- Type
diskpartand press Enter to open the DiskPart utility. - Type
list diskto display a list of all connected storage devices. Note the disk number of the drive you want to format.
- Type
- Select the Drive:
- Type
select disk X(replace X with the disk number of the drive to format) and press Enter.
- Type
- Clean the Drive (optional):
- Type
cleanand press Enter to remove all partitions and data from the selected disk. This step is irreversible and deletes all data on the drive.
- Type
- Create a Partition:
- Type
create partition primaryand press Enter to create a primary partition on the disk.
- Type
- Format the Partition:
- Type
format fs=ntfs quickand press Enter to perform a quick format using the NTFS file system. Replacentfswithexfatorfat32for different file system formats if needed.
- Type
- Assign a Drive Letter (optional):
- Type
assign letter=X(replace X with your preferred drive letter) and press Enter to assign a drive letter to the newly formatted partition.
- Type
- Exit DiskPart:
- Type
exitand press Enter to exit the DiskPart utility.
- Type
After Formatting
- Restore Backed-Up Data:
- Copy your backed-up files back to the newly formatted drive.
- Install Operating System (if needed):
- If formatting the system drive (usually C:), reinstall Windows using installation media or recovery options.
- Regular Maintenance:
- Periodically check and maintain your hard drive using Disk Management or third-party disk utilities to ensure optimal performance and reliability.
Considerations and Tips
- Data Security: Formatting erases all data on the drive permanently. Ensure you have backed up any important files before proceeding.
- Disk Health: Check your hard drive for errors before formatting to avoid data loss or hardware issues.
- File System: Choose the appropriate file system (usually NTFS for Windows) based on your needs and compatibility requirements.
- Recovery Options: If you accidentally format the wrong drive or need to recover formatted data, consider using data recovery software or professional services immediately.
Conclusion
Formatting a hard drive in Windows 10 is a straightforward process that prepares the disk for use by erasing all existing data and setting up a new file system. By following the steps outlined in this guide, you can safely format a hard drive using Windows Disk Management or Command Prompt, optimize disk performance, and maintain data integrity.


