How to configure RAID
Setting up RAID (Redundant Array of Independent Disks) allows you to combine multiple hard drives into a single logical unit for enhanced data redundancy, improved performance, or a combination of both. RAID configurations vary in complexity and purpose, providing different levels of data protection and performance optimization. This detailed guide will walk you through the step-by-step process of configuring RAID on both Windows and Linux systems, covering RAID levels, hardware and software RAID setups, configuration methods, and best practices for optimal RAID performance and data integrity.
Understanding RAID Levels and Configurations
RAID Levels Overview
- RAID 0 (Striping):
- Improves performance by striping data across multiple drives.
- No redundancy; data loss if one drive fails.
- RAID 1 (Mirroring):
- Provides redundancy by duplicating data across two drives.
- Enhanced data protection; halves storage capacity.
- RAID 5 (Striping with Parity):
- Balances performance and redundancy; distributes parity across multiple drives.
- Requires a minimum of three drives; can tolerate one drive failure.
- RAID 6 (Striping with Dual Parity):
- Provides greater redundancy than RAID 5; distributes dual parity across multiple drives.
- Requires a minimum of four drives; can tolerate two drive failures.
- RAID 10 (RAID 1+0 or Mirrored-Striping):
- Combines mirroring and striping; provides redundancy and performance.
- Requires a minimum of four drives; can tolerate multiple drive failures depending on which drives fail.
RAID Configurations and Use Cases
- Performance Optimization: RAID 0 and RAID 10 configurations are ideal for applications requiring high read/write speeds, such as video editing or gaming.
- Data Redundancy: RAID 1, RAID 5, and RAID 6 configurations offer data redundancy and protection against drive failures, suitable for file servers and critical data storage.
- Balanced Approach: RAID 5 and RAID 6 configurations balance performance and redundancy, making them suitable for medium to large-scale storage systems.
Setting Up RAID: Step-by-Step Guide
Hardware vs. Software RAID
Hardware RAID
- Hardware Requirements:
- RAID controller card or motherboard with built-in RAID capabilities.
- Compatible hard drives or SSDs.
- Configuration Steps:
- Access RAID Configuration Utility:
- Power on your computer and enter the RAID configuration utility during the boot process (usually by pressing a key like Ctrl+R or Ctrl+I).
- Follow on-screen instructions to create RAID arrays, select RAID level, and configure additional settings (stripe size, cache settings, etc.).
- Initialize and Format RAID Array:
- After configuring RAID, initialize the RAID array (if required by the utility) and format it using your operating system’s disk management tool.
Software RAID (Windows and Linux)
- Software Requirements:
- Supported operating system with built-in RAID management (Windows Server, Linux distributions like Ubuntu Server).
- Configuration Steps:
Windows
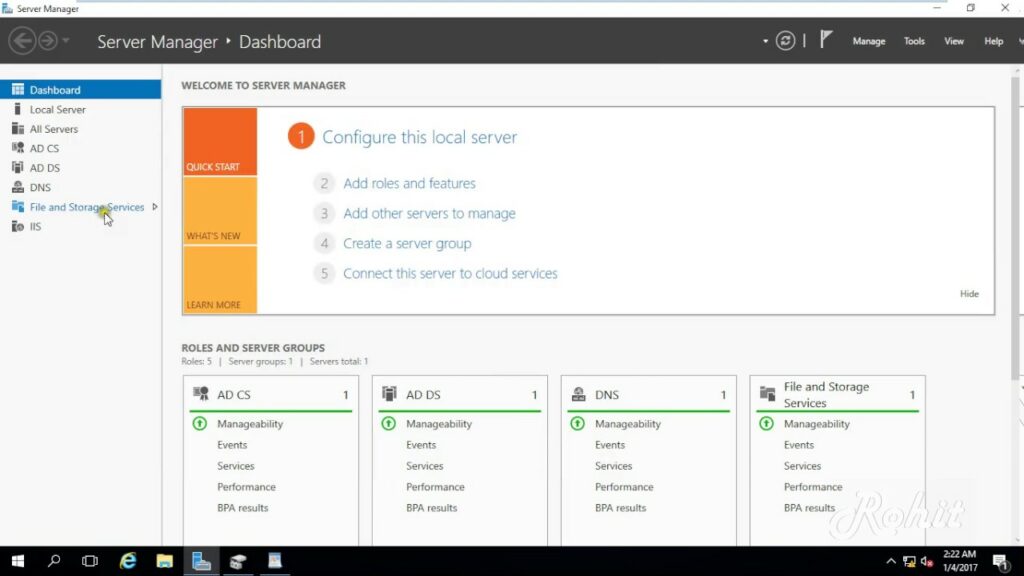
- Open Disk Management:
- Right-click on “This PC” or “Computer” and select “Manage.”
- Go to “Disk Management” under “Storage” to view connected drives.
- Create RAID Array:
- Right-click on each drive to include in the RAID array and select “New Mirrored Volume” or “New Striped Volume.”
- Follow the wizard to select RAID level, assign drive letters, and format the RAID volume.
Linux (Using mdadm)
- Install mdadm:
- Open a terminal and install mdadm (if not already installed) using the package manager (e.g.,
sudo apt-get install mdadmon Debian-based systems).
- Open a terminal and install mdadm (if not already installed) using the package manager (e.g.,
- Configure RAID Array:
- Create RAID Array:
- Use mdadm commands (
mdadm --create) to create RAID arrays specifying RAID level, drives, and other options. - Example:
sudo mdadm --create /dev/md0 --level=1 --raid-devices=2 /dev/sda /dev/sdbcreates a RAID 1 array with /dev/sda and /dev/sdb.
- Use mdadm commands (
- Format and Mount RAID Array:
- Format the RAID array using
mkfscommands (e.g.,sudo mkfs.ext4 /dev/md0for ext4 filesystem). - Create a mount point (
sudo mkdir /mnt/raid) and mount the RAID array (sudo mount /dev/md0 /mnt/raid).
- Format the RAID array using
Best Practices for RAID Configuration
- Use Identical Drives: Ensure all drives in RAID arrays are of the same capacity and speed to prevent performance disparities.
- Regular Backup: RAID is not a substitute for backups; maintain regular backups of critical data to separate storage media or cloud services.
- Monitor RAID Health: Use RAID management tools to monitor array status, drive health, and performance metrics regularly.
- Update Firmware and Drivers: Keep RAID controller firmware and drivers up to date to ensure compatibility and security.
- Plan for Expansion: Plan for future storage needs by leaving room for additional drives or upgrading RAID configurations.
RAID Troubleshooting Tips
- Drive Failure: Replace failed drives promptly and follow RAID rebuilding procedures to restore redundancy.
- Performance Issues: Monitor RAID performance metrics and adjust settings (stripe size, cache settings) for optimal performance.
- Data Corruption: Ensure power protection and use UPS (Uninterruptible Power Supply) to prevent data corruption during power outages.
Conclusion
Configuring RAID provides enhanced data protection, improved performance, and efficient storage management for various computing environments. By following the steps outlined in this guide and understanding RAID levels, hardware and software configurations, and best practices, you can effectively set up RAID on Windows and Linux systems. Regularly monitor RAID health, maintain backups, and plan for future storage needs to optimize data integrity and system performance. If encountering issues or unsure about specific configurations, consult hardware documentation, seek assistance from IT professionals, or refer to online resources for additional guidance on RAID setup and management.


