Unleashing Creativity: A Comprehensive Guide to Crafting 3D Images in Paint 3D on Windows 10
Introduction:
In the vibrant realm of digital artistry, Paint 3D emerges as a beacon of creative potential, seamlessly bridging the gap between traditional 2D drawings and immersive 3D compositions. This comprehensive guide invites users into the dynamic world of crafting 3D images within Paint 3D on Windows 10. From the basics of navigating the interface to the intricacies of sculpting and painting in three dimensions, this guide unravels the diverse tools and techniques that empower users to bring their artistic visions to life.
Understanding Paint 3D:
Paint 3D represents a revolutionary step forward in the evolution of digital creativity. As an integral component of Windows 10, this application combines accessibility with powerful features, enabling users of all skill levels to explore the depths of 3D artistry. Whether you’re a seasoned designer or a novice enthusiast, Paint 3D offers a user-friendly platform to create captivating 3D images.
1. Navigating the Paint 3D Interface:
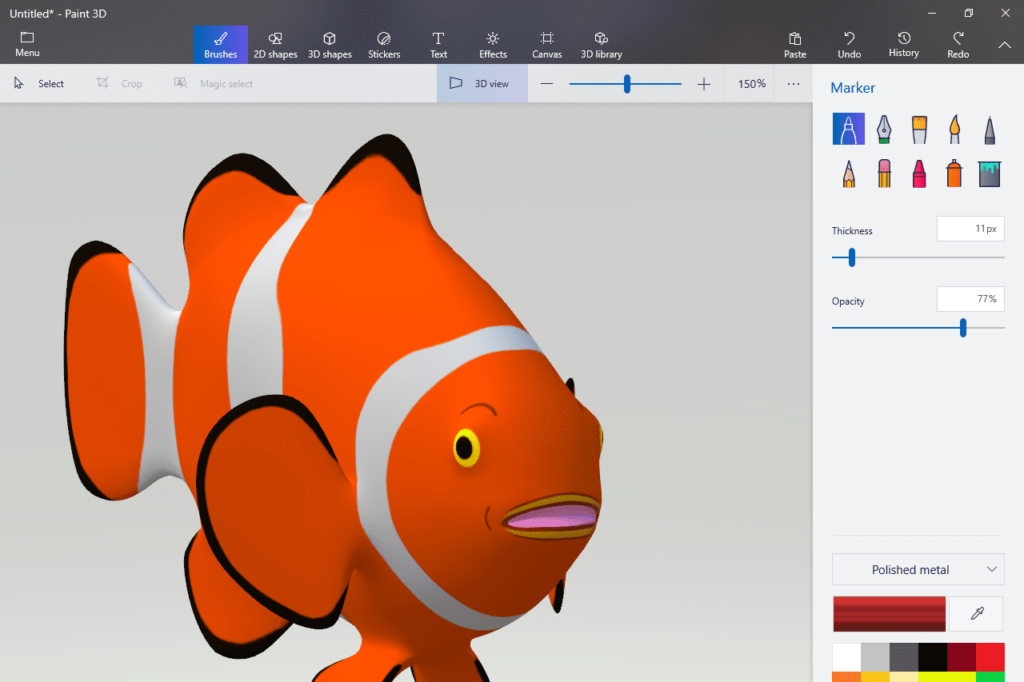
Before delving into the intricacies of crafting 3D images, it’s essential to acquaint yourself with the Paint 3D interface:
- Canvas and Toolbar:
- The canvas serves as your creative space, while the top toolbar houses essential tools for drawing, painting, and sculpting.
- 3D Objects and Stickers:
- On the right side, find the 3D objects and stickers menu. These pre-made elements can be integrated into your project or used as a starting point for your own creations.
- Layers and Adjustments:
- Familiarize yourself with the layers panel, allowing you to organize and manipulate elements within your project. The adjustments menu offers controls for fine-tuning your creations.
2. Creating a New 3D Project:
To embark on your journey of crafting 3D images, follow these steps:
- Open Paint 3D:
- Launch Paint 3D on your Windows 10 device.
- Start a New Project:
- Click on the “New” button to initiate a new 3D project.
- Choose 3D Shapes or 2D Canvas:
- Select your preferred starting point – a 3D shape from the menu or a blank 2D canvas.
- Adjust Canvas Size:
- If starting with a blank canvas, adjust its size based on your preferences.
3. Sculpting and Customizing 3D Shapes:
Paint 3D introduces users to the art of sculpting, allowing you to mold 3D shapes according to your vision:
- Select a 3D Shape:
- Choose a 3D shape from the menu, or create your own using the 2D shapes and then extruding them into the third dimension.
- Use the Brushes:
- Navigate to the brushes menu to sculpt your 3D shape. Experiment with different brush styles and sizes to achieve the desired effect.
- Rotate and Resize:
- Utilize the rotate and resize tools to manipulate your 3D shape. This adds depth and dimension to your composition.
4. Painting and Adding Texture:
Enhance the visual appeal of your 3D image by incorporating colors and textures:
- Access the Brushes and Colors:
- Choose the desired brush and color from the toolbar. Paint directly on your 3D shape or apply colors to specific surfaces.
- Texture with Stickers:
- Explore the stickers menu to add pre-made textures or decals to your 3D image. Adjust their size and placement to achieve the desired effect.
- Use the Fill Tool:
- The fill tool allows you to quickly apply colors to entire surfaces of your 3D shape, streamlining the texturing process.
5. Incorporating 2D Elements:
Blend the realms of 2D and 3D by integrating traditional drawings or images:
- Import 2D Elements:
- Use the menu to insert 2D images or drawings into your 3D project. These elements can be layered seamlessly with your 3D creations.
- Adjust and Blend:
- Resize, rotate, and adjust the transparency of your 2D elements to seamlessly integrate them into the 3D environment.
6. Saving and Exporting Your 3D Image:
Once your masterpiece is complete, follow these steps to save or export it:
- Save Your Project:
- Click on the disk icon or go to “File” and choose “Save” to preserve your project as a Paint 3D project file (.3mf).
- Export as Image:
- To share your creation or use it in other applications, export it as an image by going to “File,” selecting “Export,” and choosing your preferred image format.
Conclusion: Your 3D Canvas Awaits:
In conclusion, crafting 3D images in Paint 3D on Windows 10 is a journey of exploration and expression. By navigating the interface, sculpting 3D shapes, painting textures, and seamlessly blending 2D elements, users can unlock the vast potential of their creativity. As you embark on your artistic endeavors within the dynamic canvas of Paint 3D, the possibilities are limitless, and your creations become a testament to the fusion of technology and imagination. Whether you’re a digital artist, designer, or simply an enthusiast, Paint 3D empowers you to bring your visions to life in the captivating realm of three-dimensional art.


